|
This workshop we talked about one of our favourites: compost. Though it’s not the sexiest part of the garden, it’s an essential part of what makes it self-sustaining: it closes the loop, turning organic waste into organic dope. We talked about three kinds of composting: compost bins, worm farms and Bokashi bins. Although they have different strategies and end products, they all produce plant goodness. Compost bins work by aerobic microbes breaking down kitchen waste to produce a concentrated source of plant nutrition, compost. Worm bins utilise worms to digest and convert kitchen waste into castings and liquid gold that are great, strong fertilisers. Bokashi bins offer a more compact composting solution that uses anaerobic fermentation to rapidly decompose kitchen waste into premature compost. For more info on composting, check out the gardening guide under gardening guides. 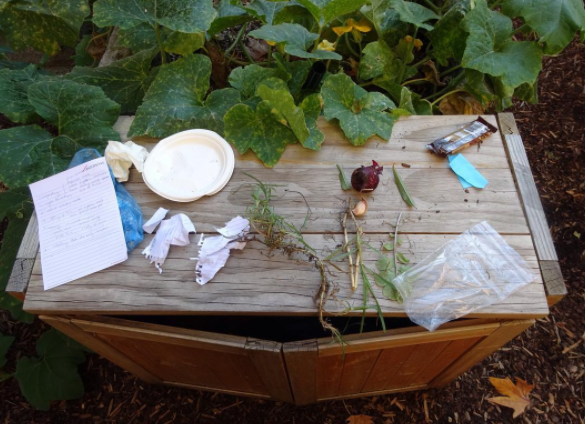 To compost or not to compost - that is the question We also set up our worm farm after the worms went on a summer vacation to cooler hideouts - thanks to all our babysitters! 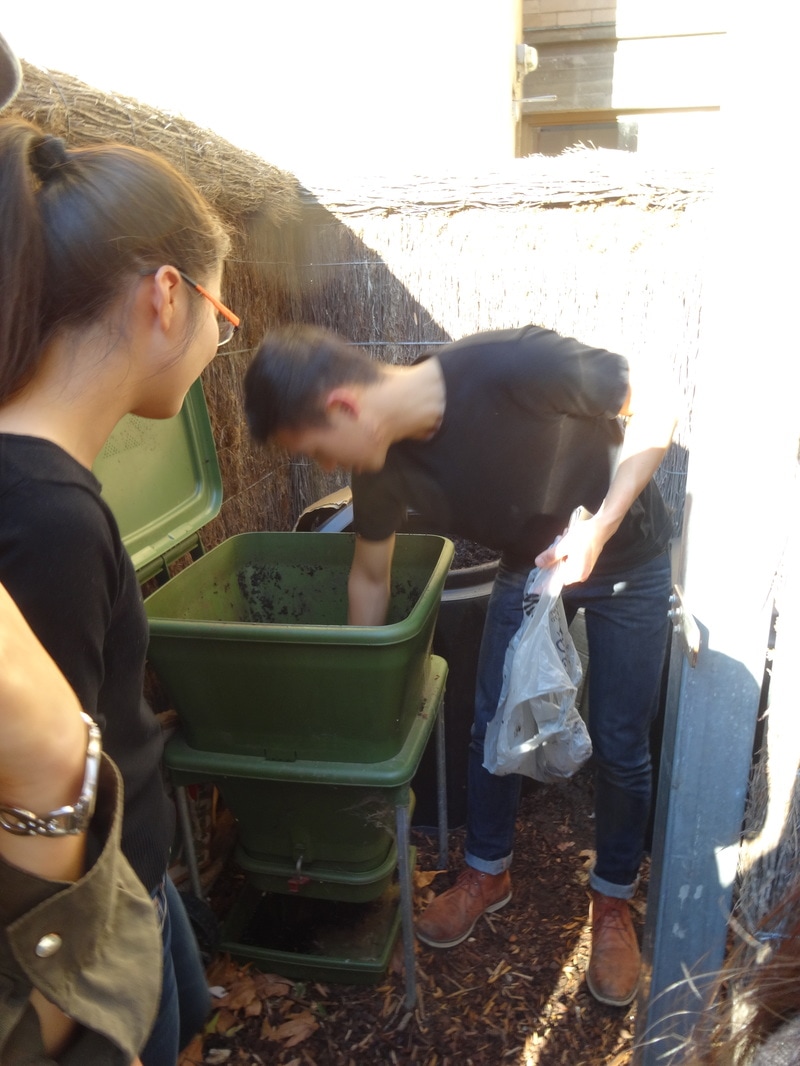 Setting up our worm farm Thanks to all our kitchen waste donors over the years. With your help, we’ve saved 650kg of kitchen waste going to landfill since we’ve started (and probably more due to data collection mishaps)! If you’re ever around, please also give the compost bins a good turn to add some oxygen in there.
Hello fellow garden lovers! Two weeks before the break we had the wonderful Sam from St. Kilda Indigenous Nursery Co – operative (S.K.I.N.C) do a native workshop with us! She not only shared information about natives, she even donated some! It was very exciting (remember to check out our new additions)! Since there was a ton of information pertaining to the propagation/care/types of natives, we have collated everything into a list (below). Happy reading! Some common (or should be common) natives: Viola Hederacea (Native Violet) – Propagate via division (runners), eat flowers, needs lots of water and shade (bees). Apium Prostratum (Sea Celery) – Propagate via seed, eat leaves (high in Vitamin C), grows in full sun, prune after it seeds. Mentha Australis (River Mint) – Propagate via cuttings, eat leaves (makes very good tea), very hardy, grows in any condition but likes lots of water if possible (bees and butterflies). Atriplex Cinerea (Coastal Southbush) – Propagate via cuttings or seed, eat leaves (boiled or dried + crushed up as salt), can handle exposed conditions, full sun and needs well-drained soil (birds). Arthropodium Milleflorum (Pale Vanilla Lily) – Propagate via seed (can also propagate via tuber division), eat tubers raw/roasted, grow in part shade +morning sun, and does not like afternoon sun (bees and butterflies). Microseris Laceolata (Yam Daisy) – Propagate via seed (FRESH), eat tubers raw or roasted, needs good – moderate drainage (butterflies and bees). Billardiera Scandens (Apple Berry) – Propagate via cutting/seed, eat fruit raw or roasted, do not grow in direct sun and is a climber (bees, butterflies and birds). Einadia Nutans (Nodding Saltbush) – Propagate via cutting/seed, eat berries or leaves (BOILED), grow in sunny or lightly shaded spots, grows to 1m in diameter, well drained/dry soil (butterflies). Einadia Hastata (Berry Saltbush) – Propagate via cutting/seed, eat berries or leaves (BOILED), grow in sunny or lightly shaded spots and well drained soil (butterflies). Displyma Crossifolium (Rounded Noon – Flower) – Propagate via cuttings, all parts edible, grow in full sun – part shade in dry and well – drained soil (butterflies). Tetregonia Implexicoma (Warrigal Greens) – Propagate viat cuttings, eat leaves (BOILED), grows in all conditions (birds). 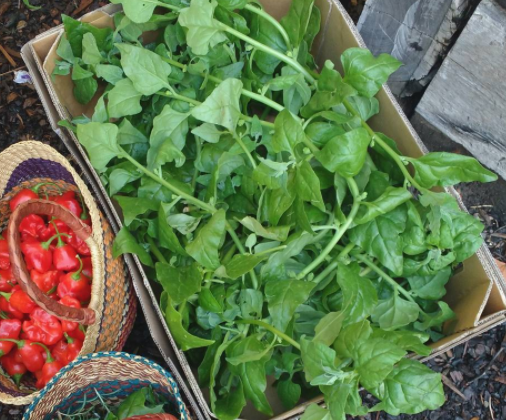 Warrigal greens Tasmammica Launceolata (Mountain Pepper) – Propagate via cutting/seed, eat leaves and berries either fresh or roasted as a hot substitute for pepper, grows in shadier conditions, needs deep rich soil, grows to 3m (birds). Other Edible Indigenous Plants (Examples) – Austromyrtus Dulcis (Midyim Berry), Enchyldena Tormentosa (Ruby Saltbush), Wahlenbergia Communis (Tufted Bluebell), Arthropodium Strictum (Chocolate Lily), Kerredia Prostrata (Running Postman), Coprosma Quadifolia (Prickly Current Bush). 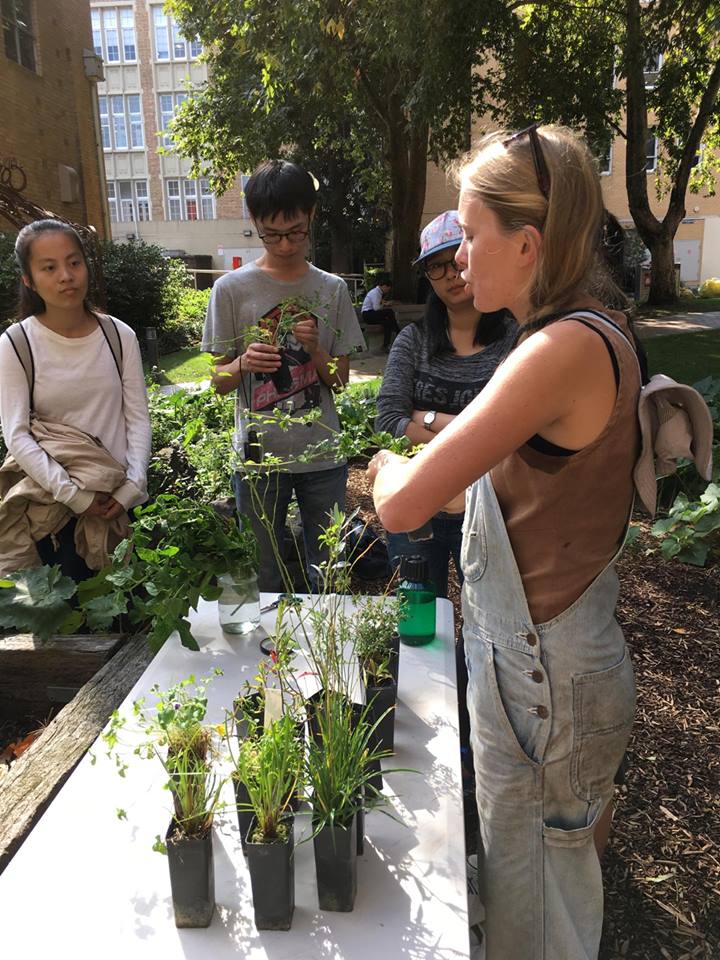 Sam from the St Kilda Indigenous Nursery Co-Op talking about the beautiful bounty she brought Woohoo! That’s everything! We hope you got through all that information! If you have any queries/require more information, remember to drop us a message on Facebook at “Melbourne University Community Garden”!
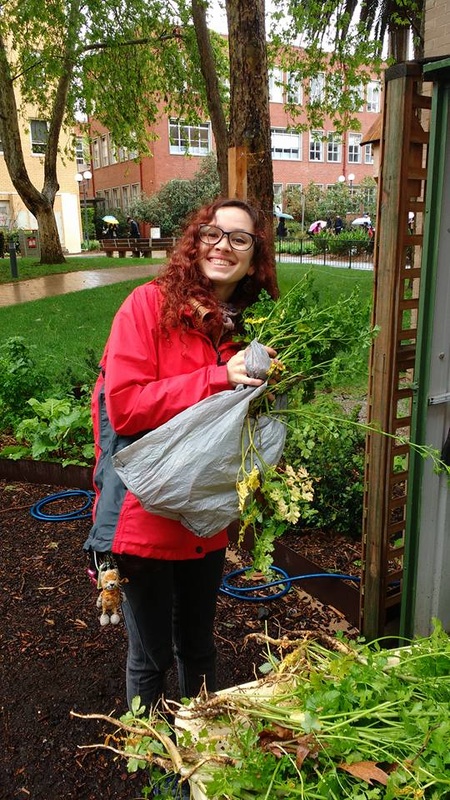
Finally, we would like to thank all our volunteers who stopped by this week and lent a hand with digging, picking up leaves and cutting up branches. We truly appreciated your help and hope to see you there next time! Cheers, The MUC Garden Team Hiya folks! Sorry it has been awhile but here is an update about the workshop that happened during week 5! We had the lovely Jess run the workshop (it was great – she is very well informed)! Here’s a run down of everything that we did! Collecting:
 Fruits and veggie seeds are such a great, easily underused resource Planting:
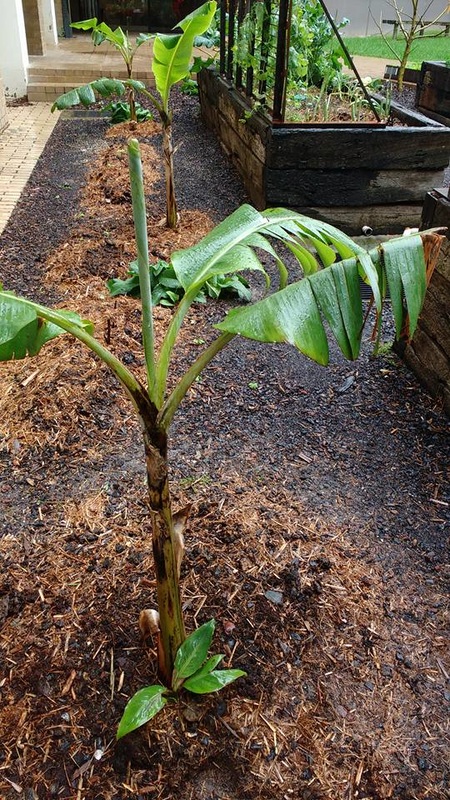
Though this process might seem daunting fret not! It will be okay and you will be great! You just have to give it a shot and believe in your gardening capabilities! Also, we are always happy to give advice and lend a helping hand! For some hands on practice remember to check out our Facebook page and come along to our workshops/working bees! Thank you to everyone who has been coming and helping out! We really appreciate it and can’t thank you enough! Lots of Love, Melbourne University Community (MUC) Garden Team 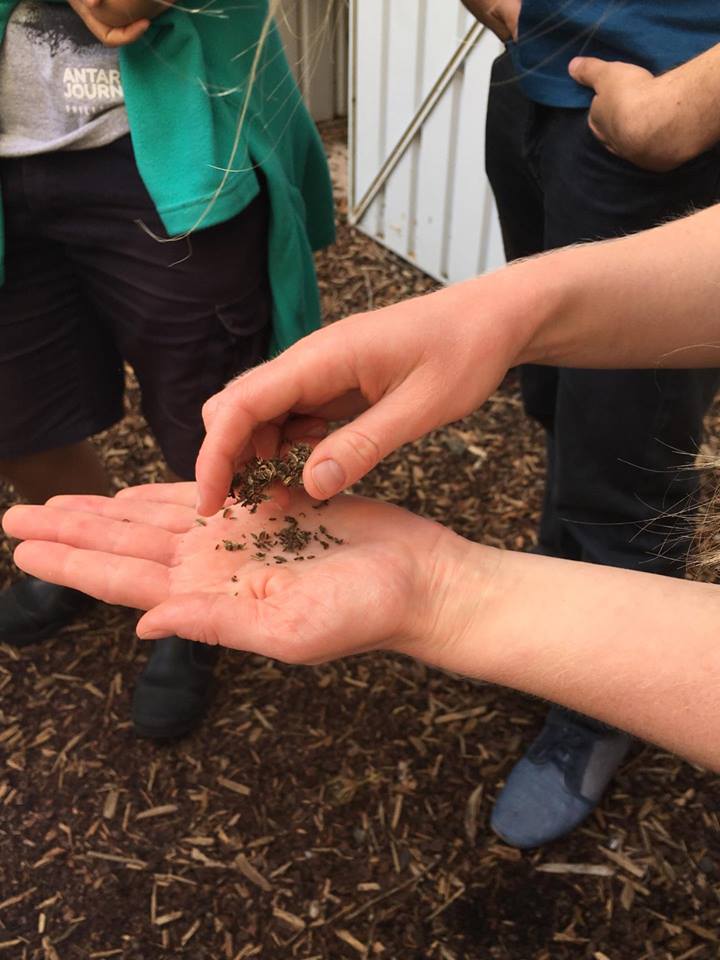 Though the weather was rather dismal, the workshop that we ran, “Tropical Planting + Banana Working Bee”, was a great success! We managed to not only plant FOUR new tropical plants (courtesy of Simeon and Jess), Turmeric, Native Ginger, Curry Leaves and Babaco but we also learnt how to remove a banana pup from the mother plant! As a result we have three new potted banana plants that are going to our greenhouse (come check it out, it’s very cool!) 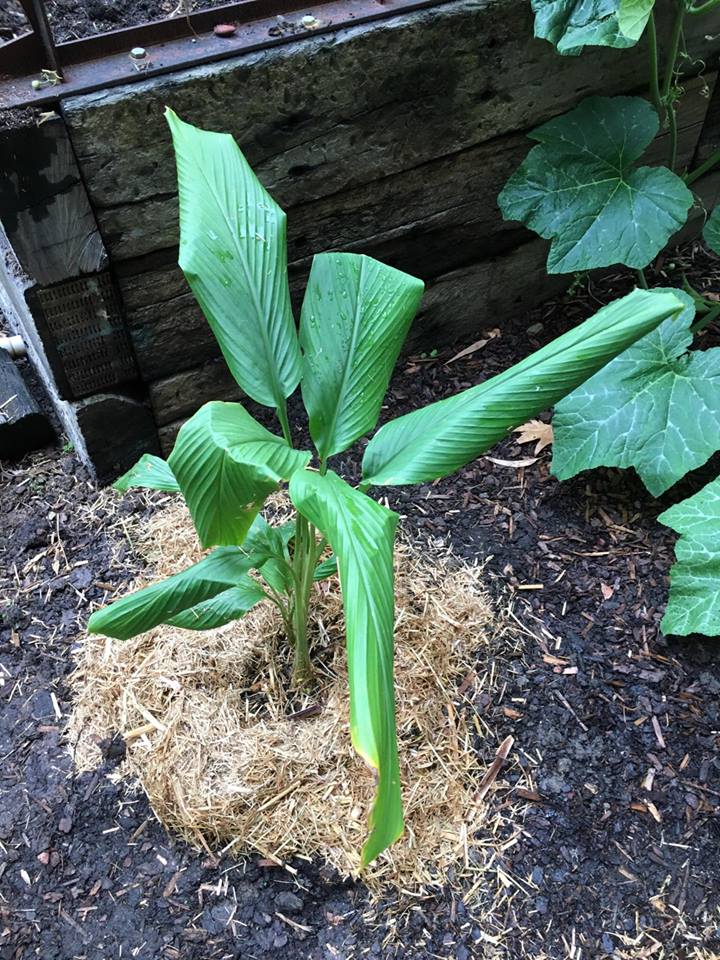 Turmeric 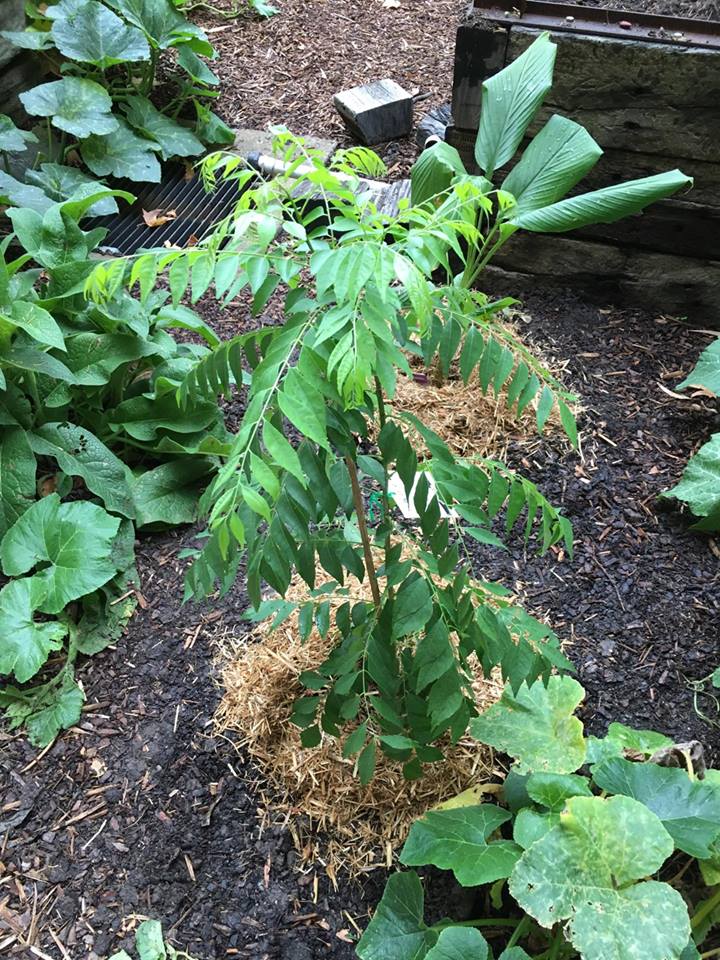 Curry leaf tree 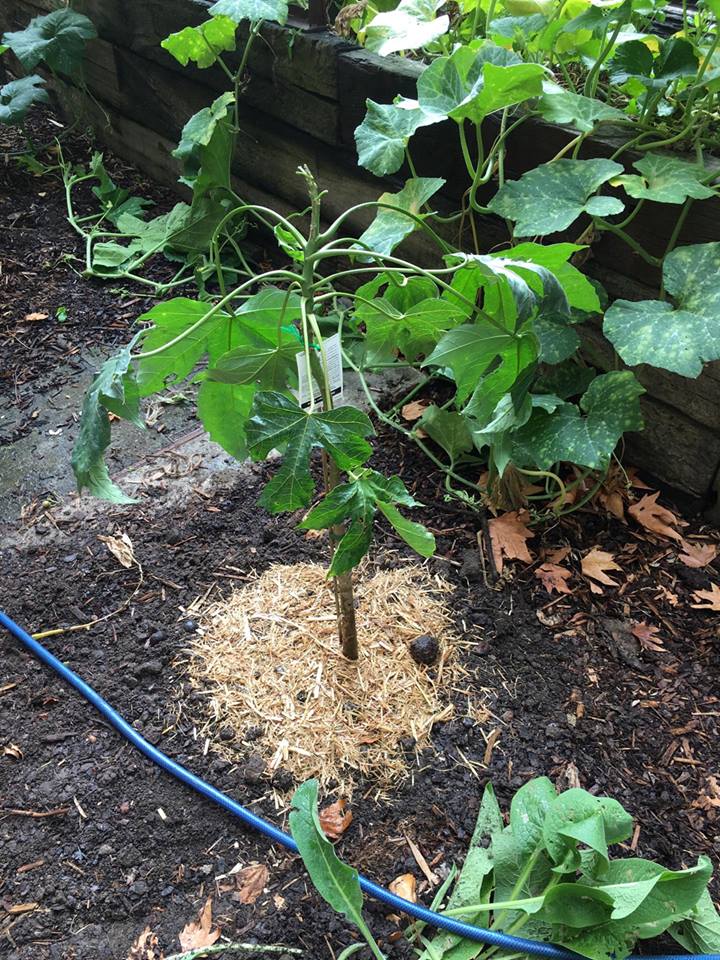 Babaco - apparently its fruit tastes like a cross between a pineapple and papaya 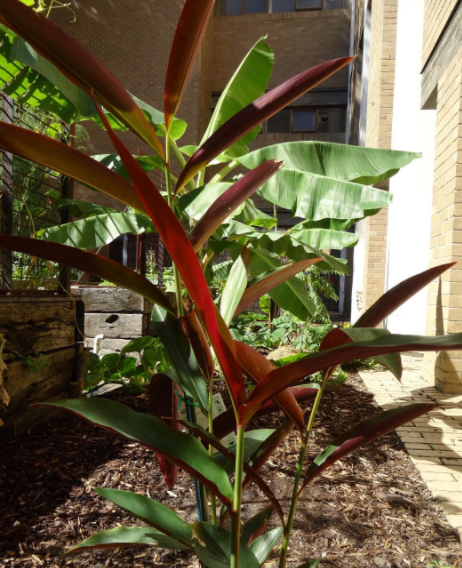 Native ginger Here a few tips that we went through when re - planting a potted/ store bought plant:
The main tip for planting tropicals in Melbourne is to give it a go! Although it may seem counter-intuitive in our climate, there are tropical plants that are more resistant to colder climates as well as cultivated for it, such as the ones we planted and our Goldfinger bananas. Creating a favourable climate also increases the chance of living a tropical plant life, such as creating a tropical microclimate against a sun baked wall (like us) with wind protection. Aside from our very exciting planting adventures, we removed our tomato plants (sniffles), cleaned up the garden and composted all the beds! We would like to thank all our volunteers who stopped by today and lent a hand with digging, picking up leaves and cutting up branches. We truly appreciate your help and hope to see you there next time! For more information on our future workshops be sure to follow us on Facebook at “Melbourne University Community Garden”! Have a lovely and delightful week fellow gardening lovers! 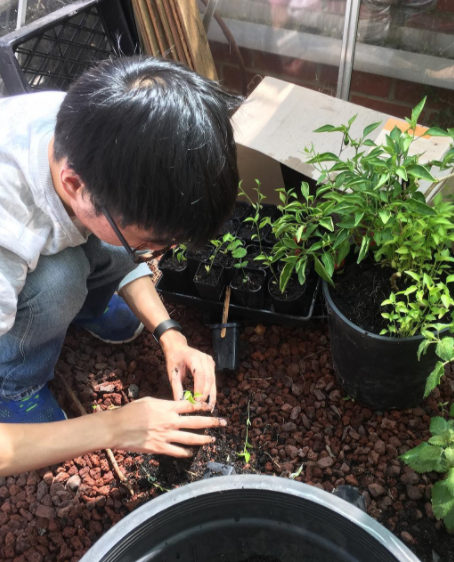 Propagating from cuttings Propagating from cuttings We hope everyone has had a splendid week thus far! This week we talked about propagation and its many benefits! It is so manageable and exceptionally affordable! We discussed producing new life from seeds, cuttings and kitchen scraps. Though growing plants from seeds isn’t that difficult, to a newbie like me it does seem very intimidating! The one question that continuously plagues my thoughts is “WHAT IF I KILL THE PLANT?!”. But it’s going to be okay, you will succeed and have amazing plants because our stupendous coordinators, Jess, Tom and Sarah, have given us some very useful tips: - Prepare the soil appropriately to the species’ needs, aerating it or adding compost to prepare it as a base of nutrition for your new trooper as well as using the right seed raising or potting mix. - Make sure you plant it an appropriate depth into the soil proportional to the size of the seed (i.e. the bigger the seed, plant deeper into the soil). Cloning via cuttings is where it gets fun. Some different ways to do it are:
If you’d like more details, check out the propagation gardening guide (it is on our website). Another cost effective way of growing plants is from kitchen scraps, which are very accessible and make full use of your food (zero wastage)! - Seeds: You can save seeds from pretty much any fruit, such as chillies, avocados or papaya. Save the seed and plant as you would any other seed. To improve the chances of your plant surviving, do some research on the environment it likes, including soil, position and climate. - Cuttings with tops or bottoms: Some edibles can be regrown from their tops or bottoms, such as pineapples, onions and carrots. Simply keep those parts and grow as you would a cutting in a jar. Once the roots have developed, stick into soil. Again, do some research to see if it would prefer to spend some time in a jar or go straight into the dirt. - Cuttings with sprouts: Sprouting is often a sign not to eat your edible. But it’s also an opportunity to regrow it! When sprouts appear on edibles, including garlic and ginger, save them and grow in either a jar or straight into soil. There is a lot of diversity when it comes to growing from kitchen scraps. Remember to do some research before experimenting! This will help in improving growth potential. For further information check out this guide: https://foodrevolution.org/blog/reduce-food-waste-regrow-from-scraps/ We hope that our tips have helped in assuaging your fear and made you keen for some propagating! Have a lovely week everyone and remember to stay warm! Until next time, MUC Garden 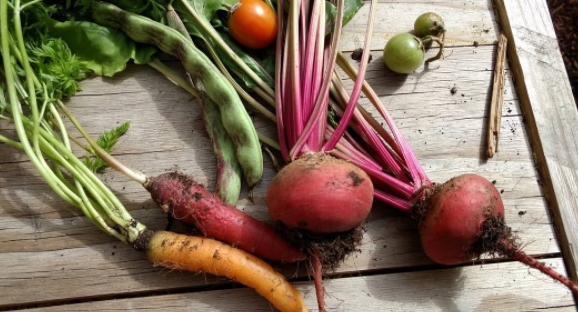 Soon to be kichen scraps that can be regrown! 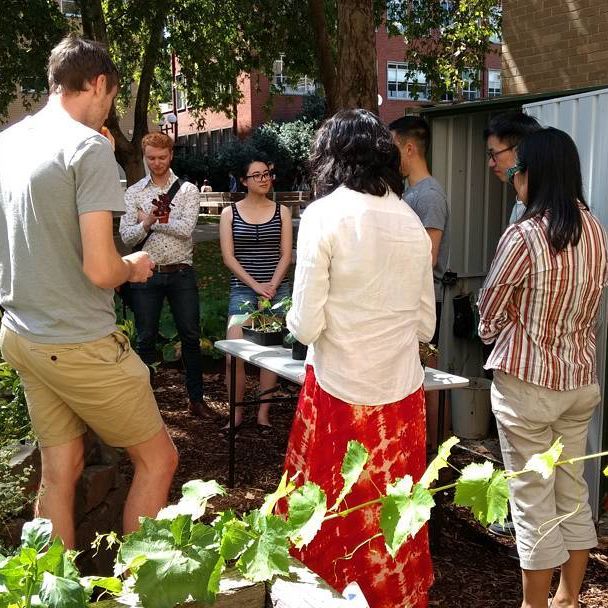 We love being outside in the garden, but not everyone has the luxury of outdoor space at home. Even if they do, we figure you can never have too many plants around! That’s why we decided to run a workshop covering the basics of indoor plant care and giving participants their very own indoor plants to take home. Simeon started by giving us a run down of how to take care of indoor plants. Some main points are: • Don’t over water them (as a general rule, wait until the top couple of cm of soil are dry before watering), and when you do water do it thoroughly! • Use good quality potting mix • Choose a spot with appropriate light levels (e.g. a Fiddle Leaf Fig needs lots of light, while ferns are suited to shady spots) • Don’t forget to fertilise! Each plant varies in its needs, so it’s important to do some research beforehand. After going through this, we had the chance to pot up some seedlings. Simeon also showed us how to separate a Peace Lily to create a whole bunch of new plants. We hope everyone enjoys their new plant friends - we’d love to hear how they’re going!  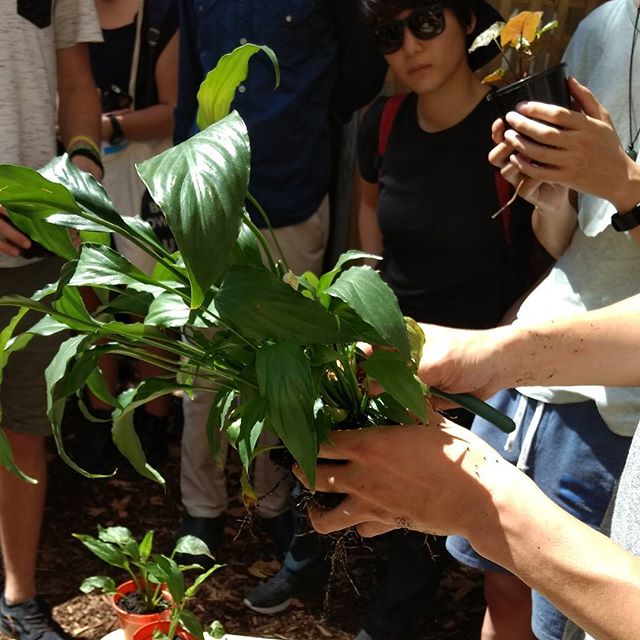 Separating a Peace Lily for seedlings And we're back! It's been a while but we kicked off the new semester by going back to the basics, looking at the 101s that are essential for gardening. Aside from this workshop being helpful for looking at soil types, water requirements and plant positioning (to name a few!), it also enabled us to rediscover our roots (quite literally!). It reminded us of who and what we are as well as why we do what we do. We were able to introduce people to caring for new life, debunk age-old fears about gardening and share our enthusiasm for gardening with the wider community! For a copy of the basics gardening guide, check it out on our website here: http://mucgarden.weebly.com/gardening-guides.html. However amidst all this excitement, we had to say goodbye to our long time facilitator Pippa, who dedicated her time, persistence and love to the garden since its inception. We truly miss and thank you for all your blood, sweat and tears! With Pippa’s exit, we also had the arrival of 8 new coordinators, as well as Jess’ continued support, all of who are full of ideas and passion. The success of our first workshop coupled with an exciting new team of 8 coordinators promises for a great semester ahead! So remember to stay tuned to find out more about our upcoming workshops and joint events! If you have any suggestions for workshops you’d like to run, leave a comment below or contact us via E-mail/Facebook. 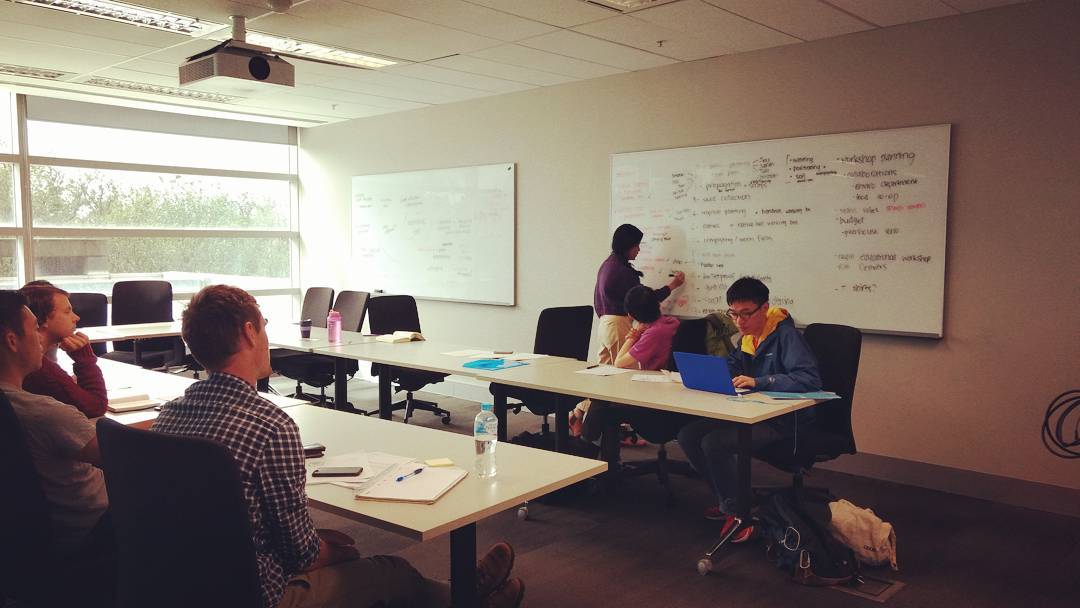 Planning semester 1's upcoming workshops and events
Keen to increase your involvement in the garden? Apply to be a member of our coordinator team! Applications are due on Friday 13th January 2017. Details below:
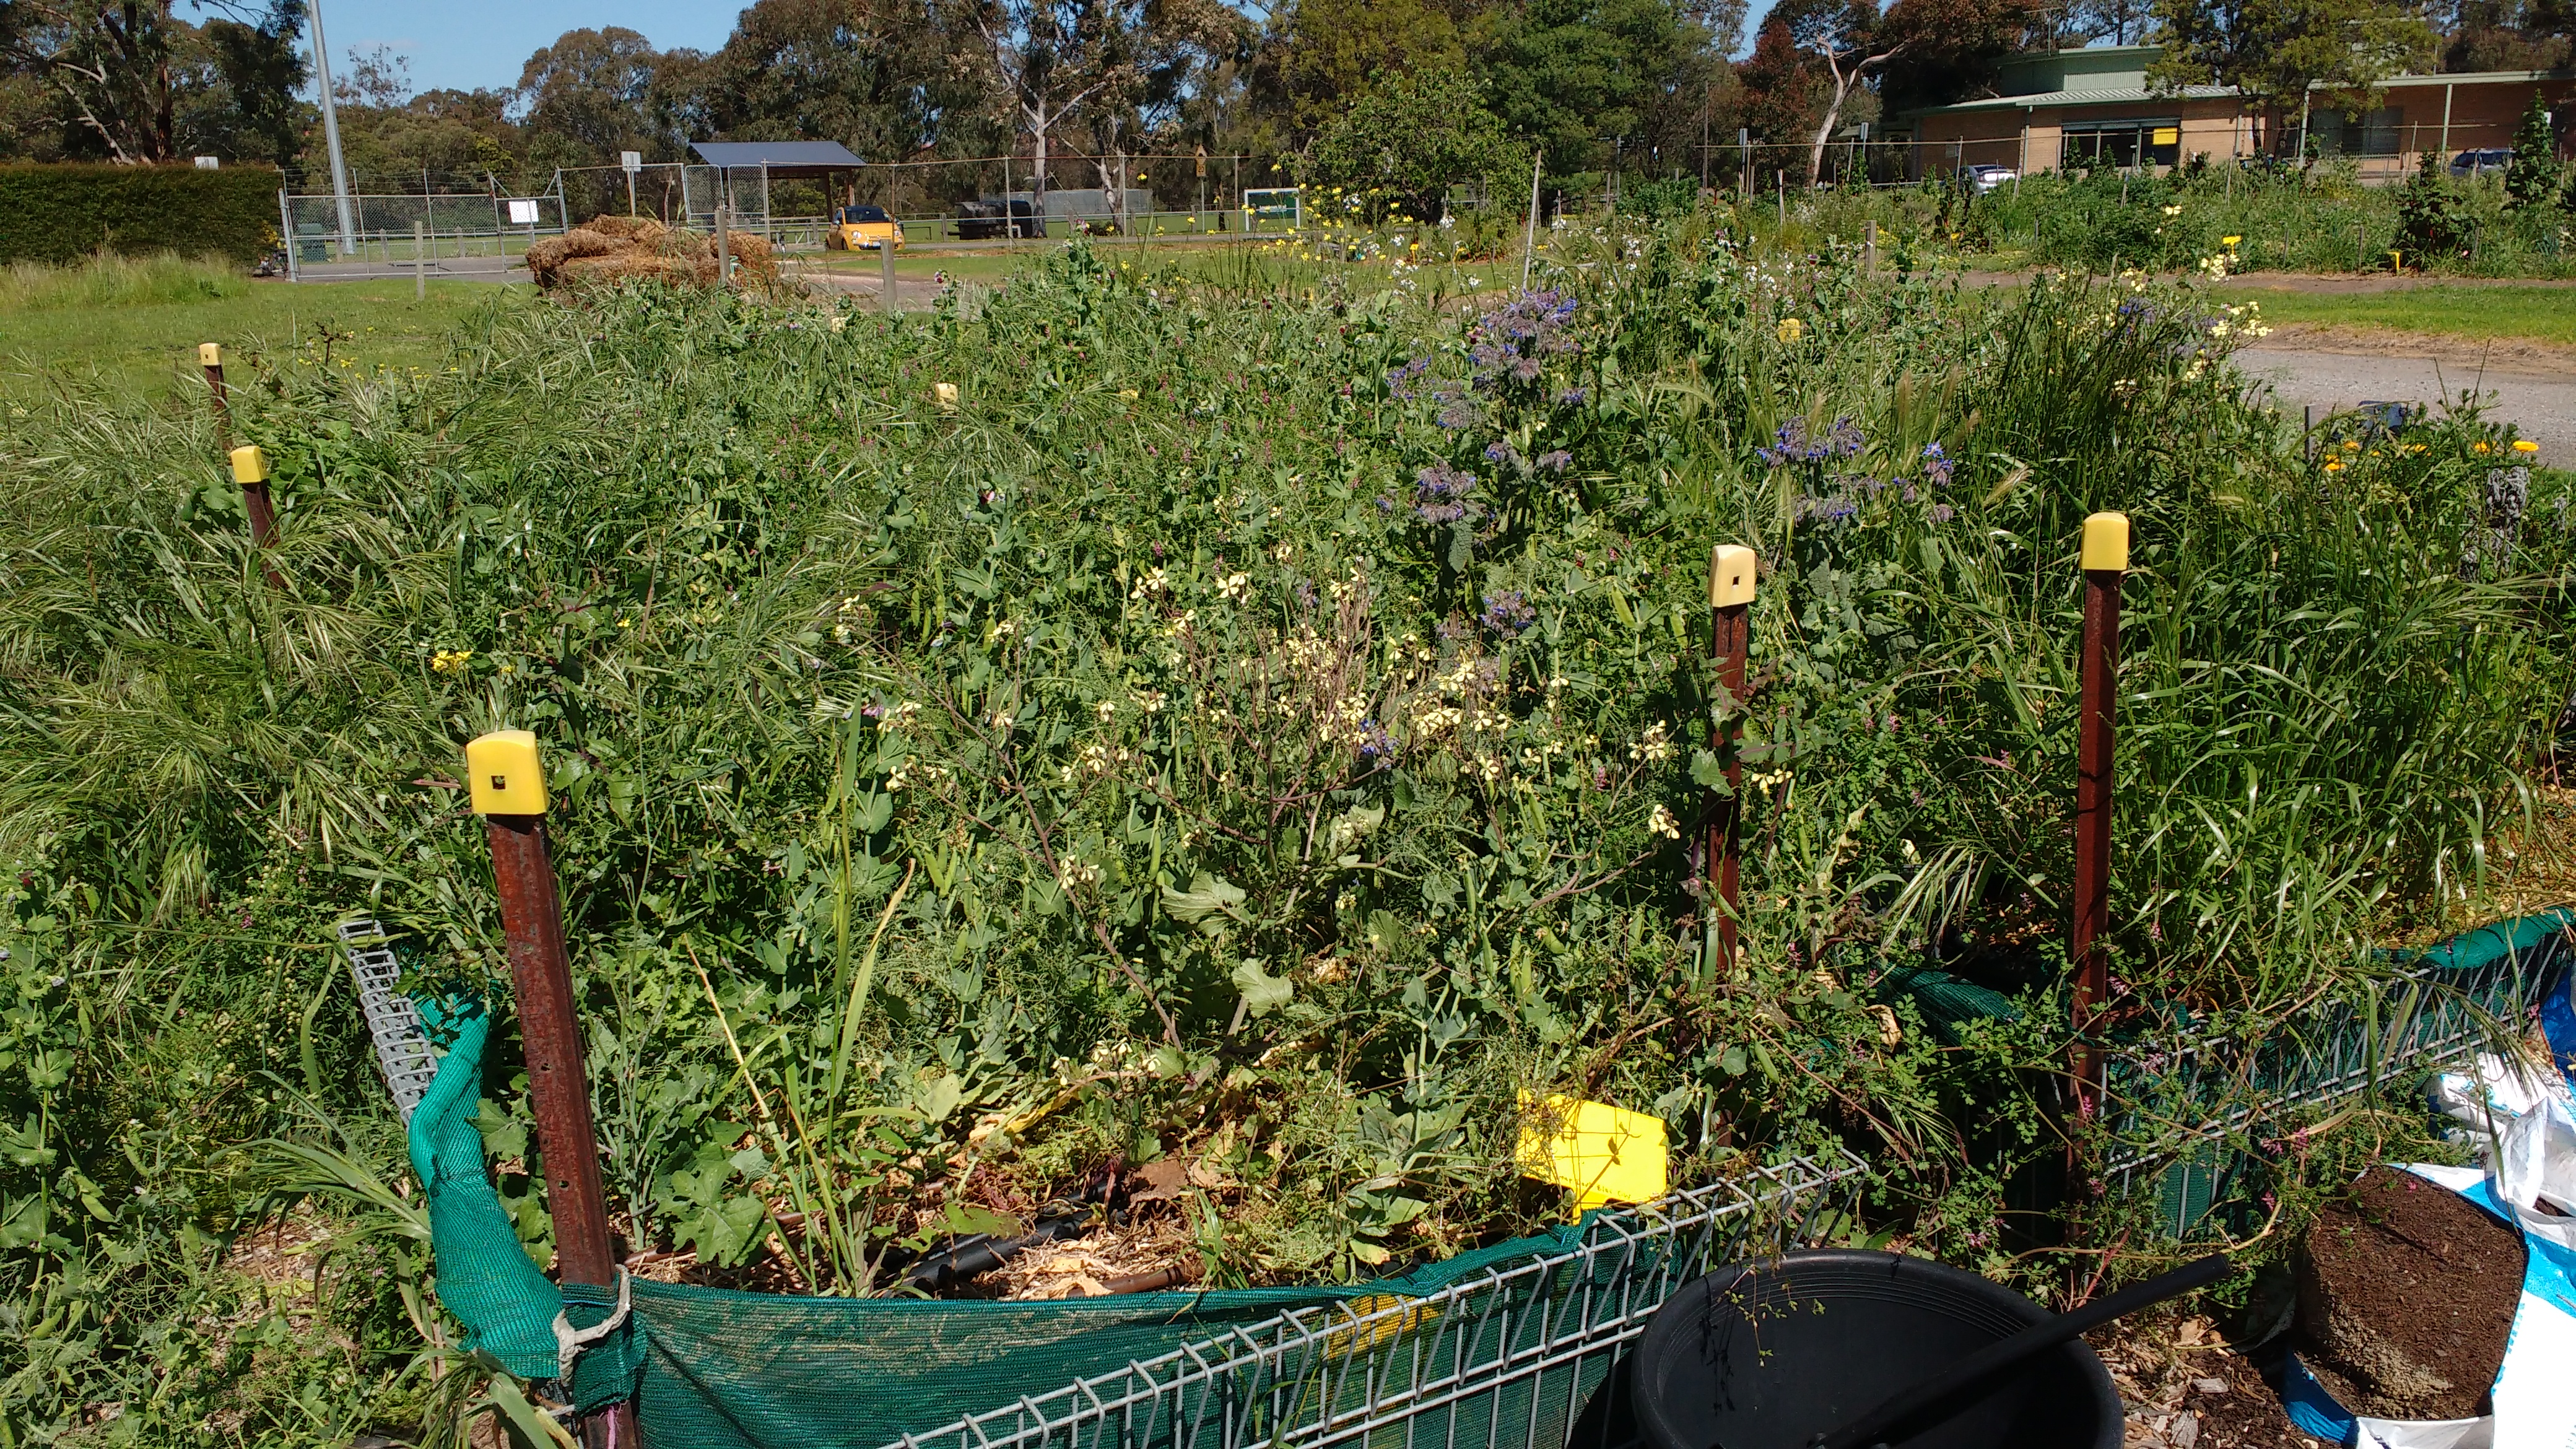
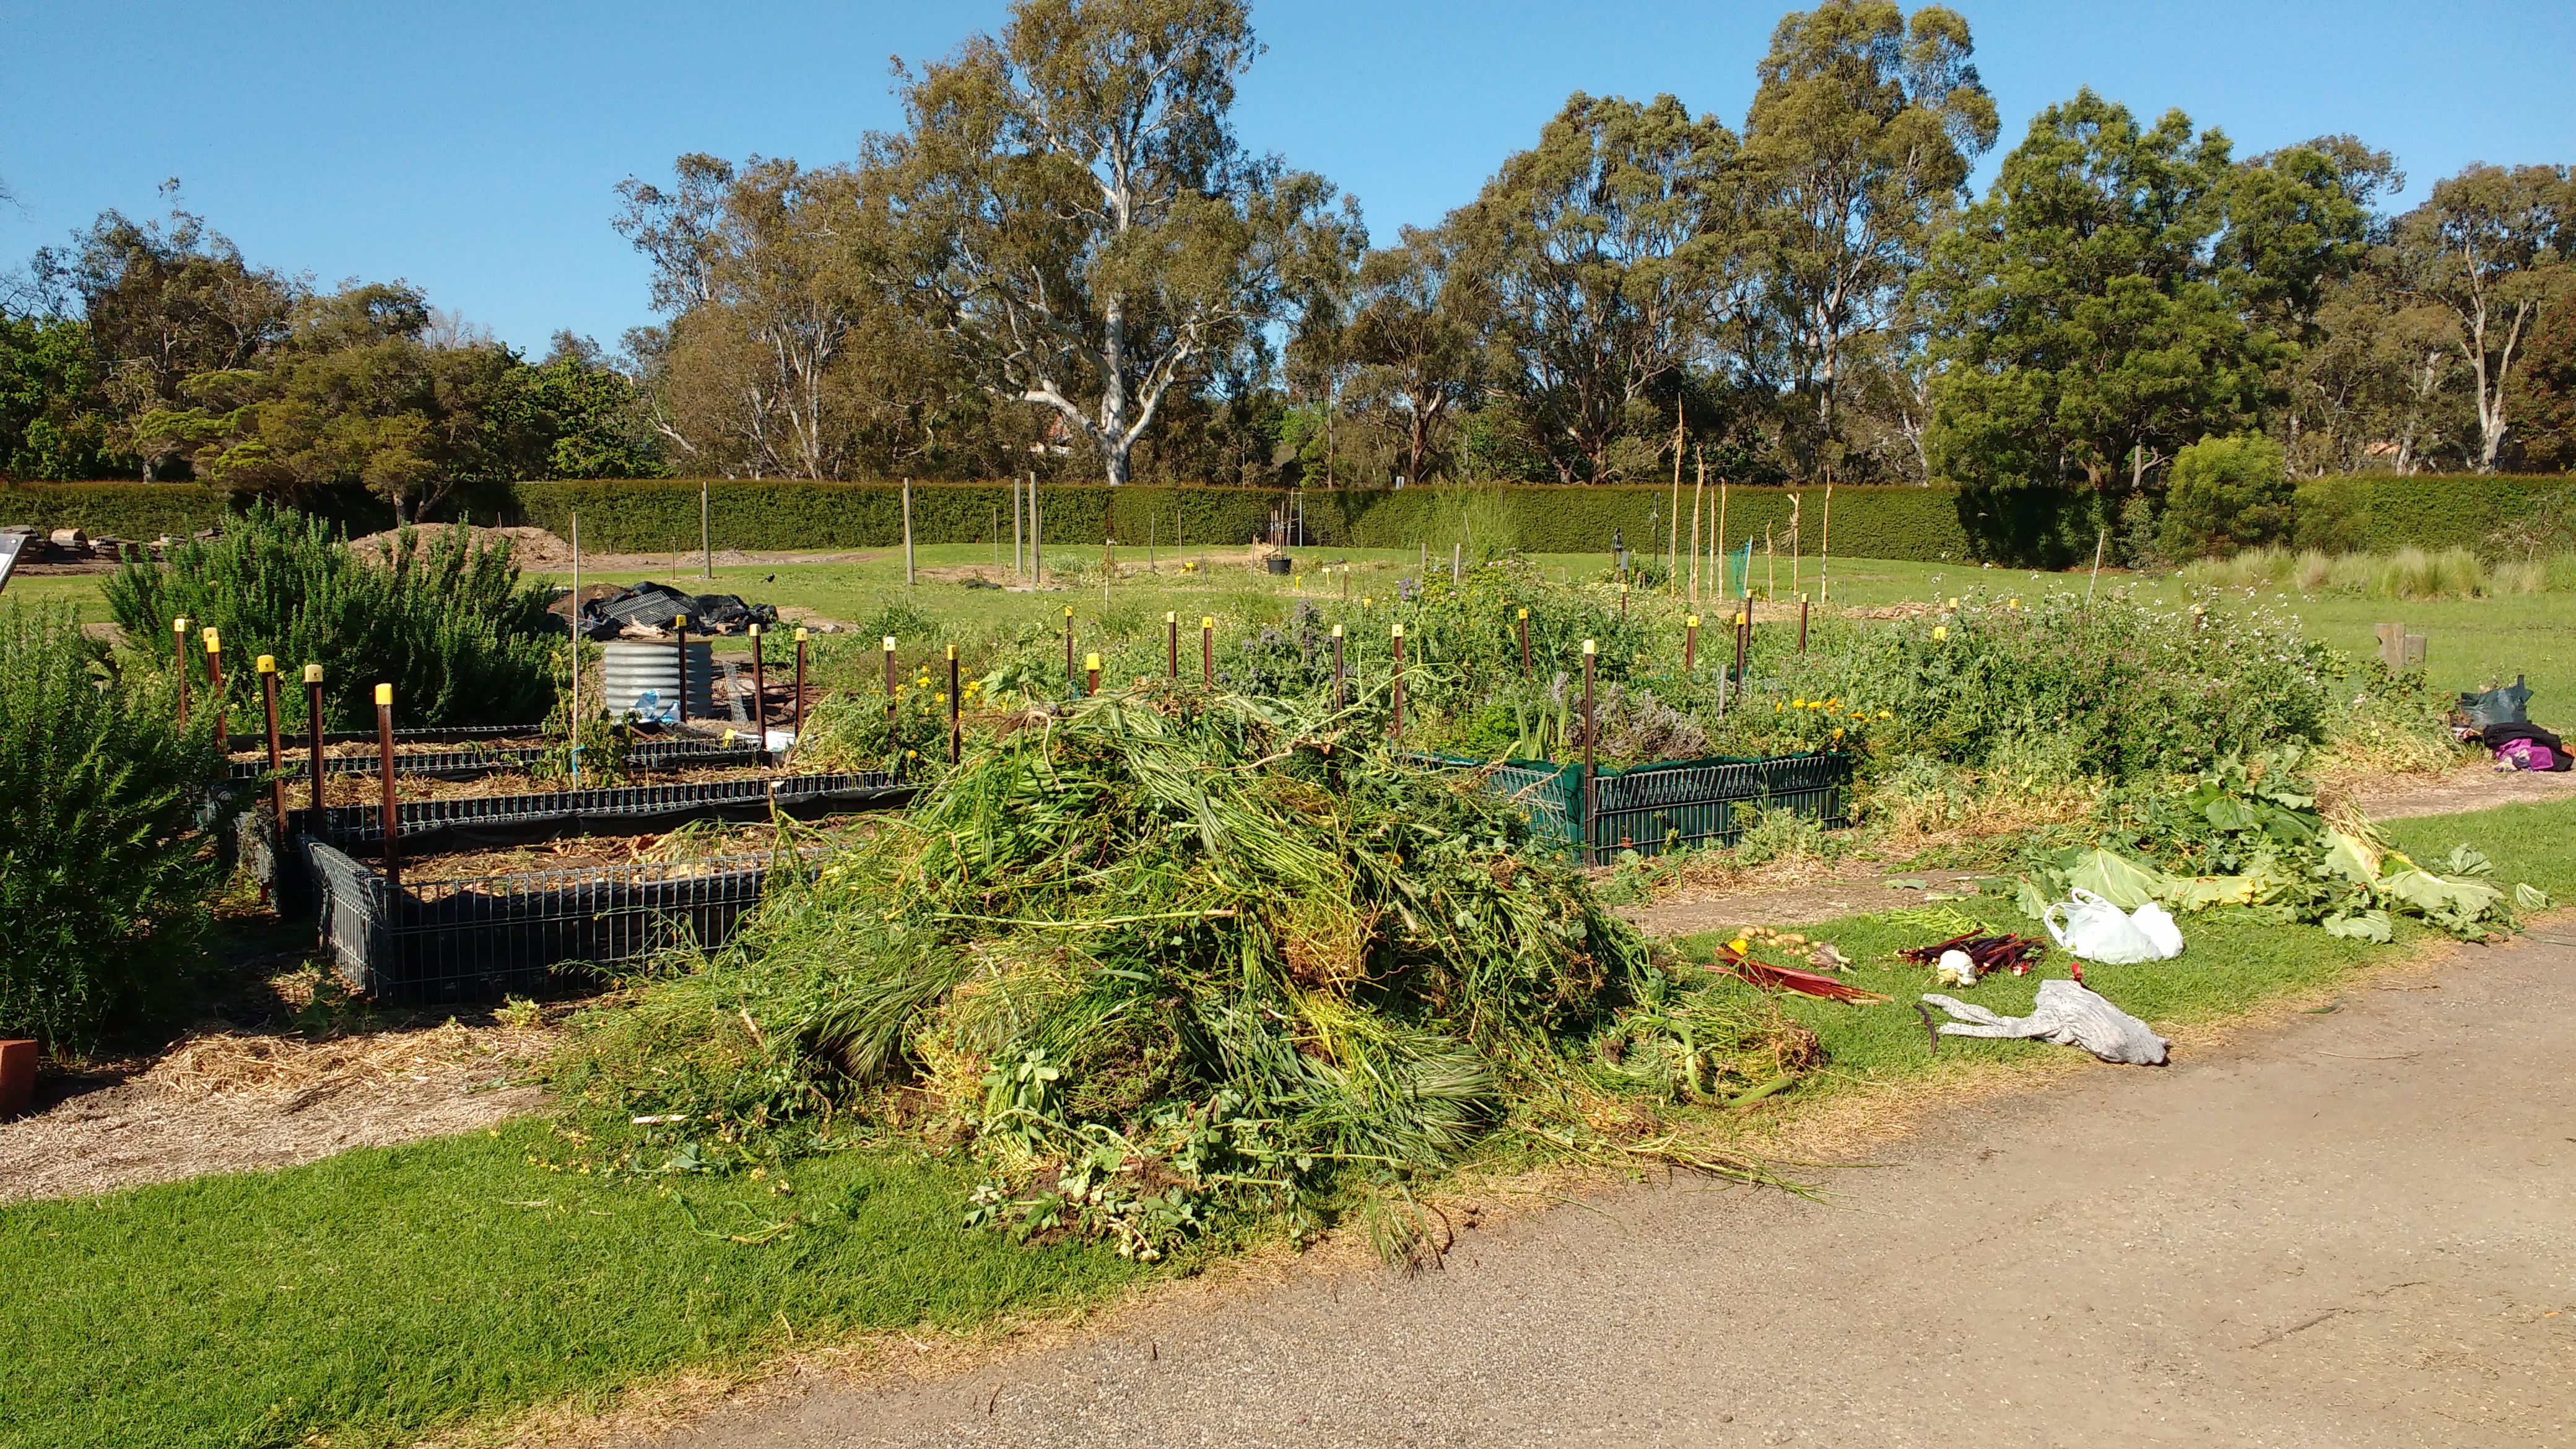
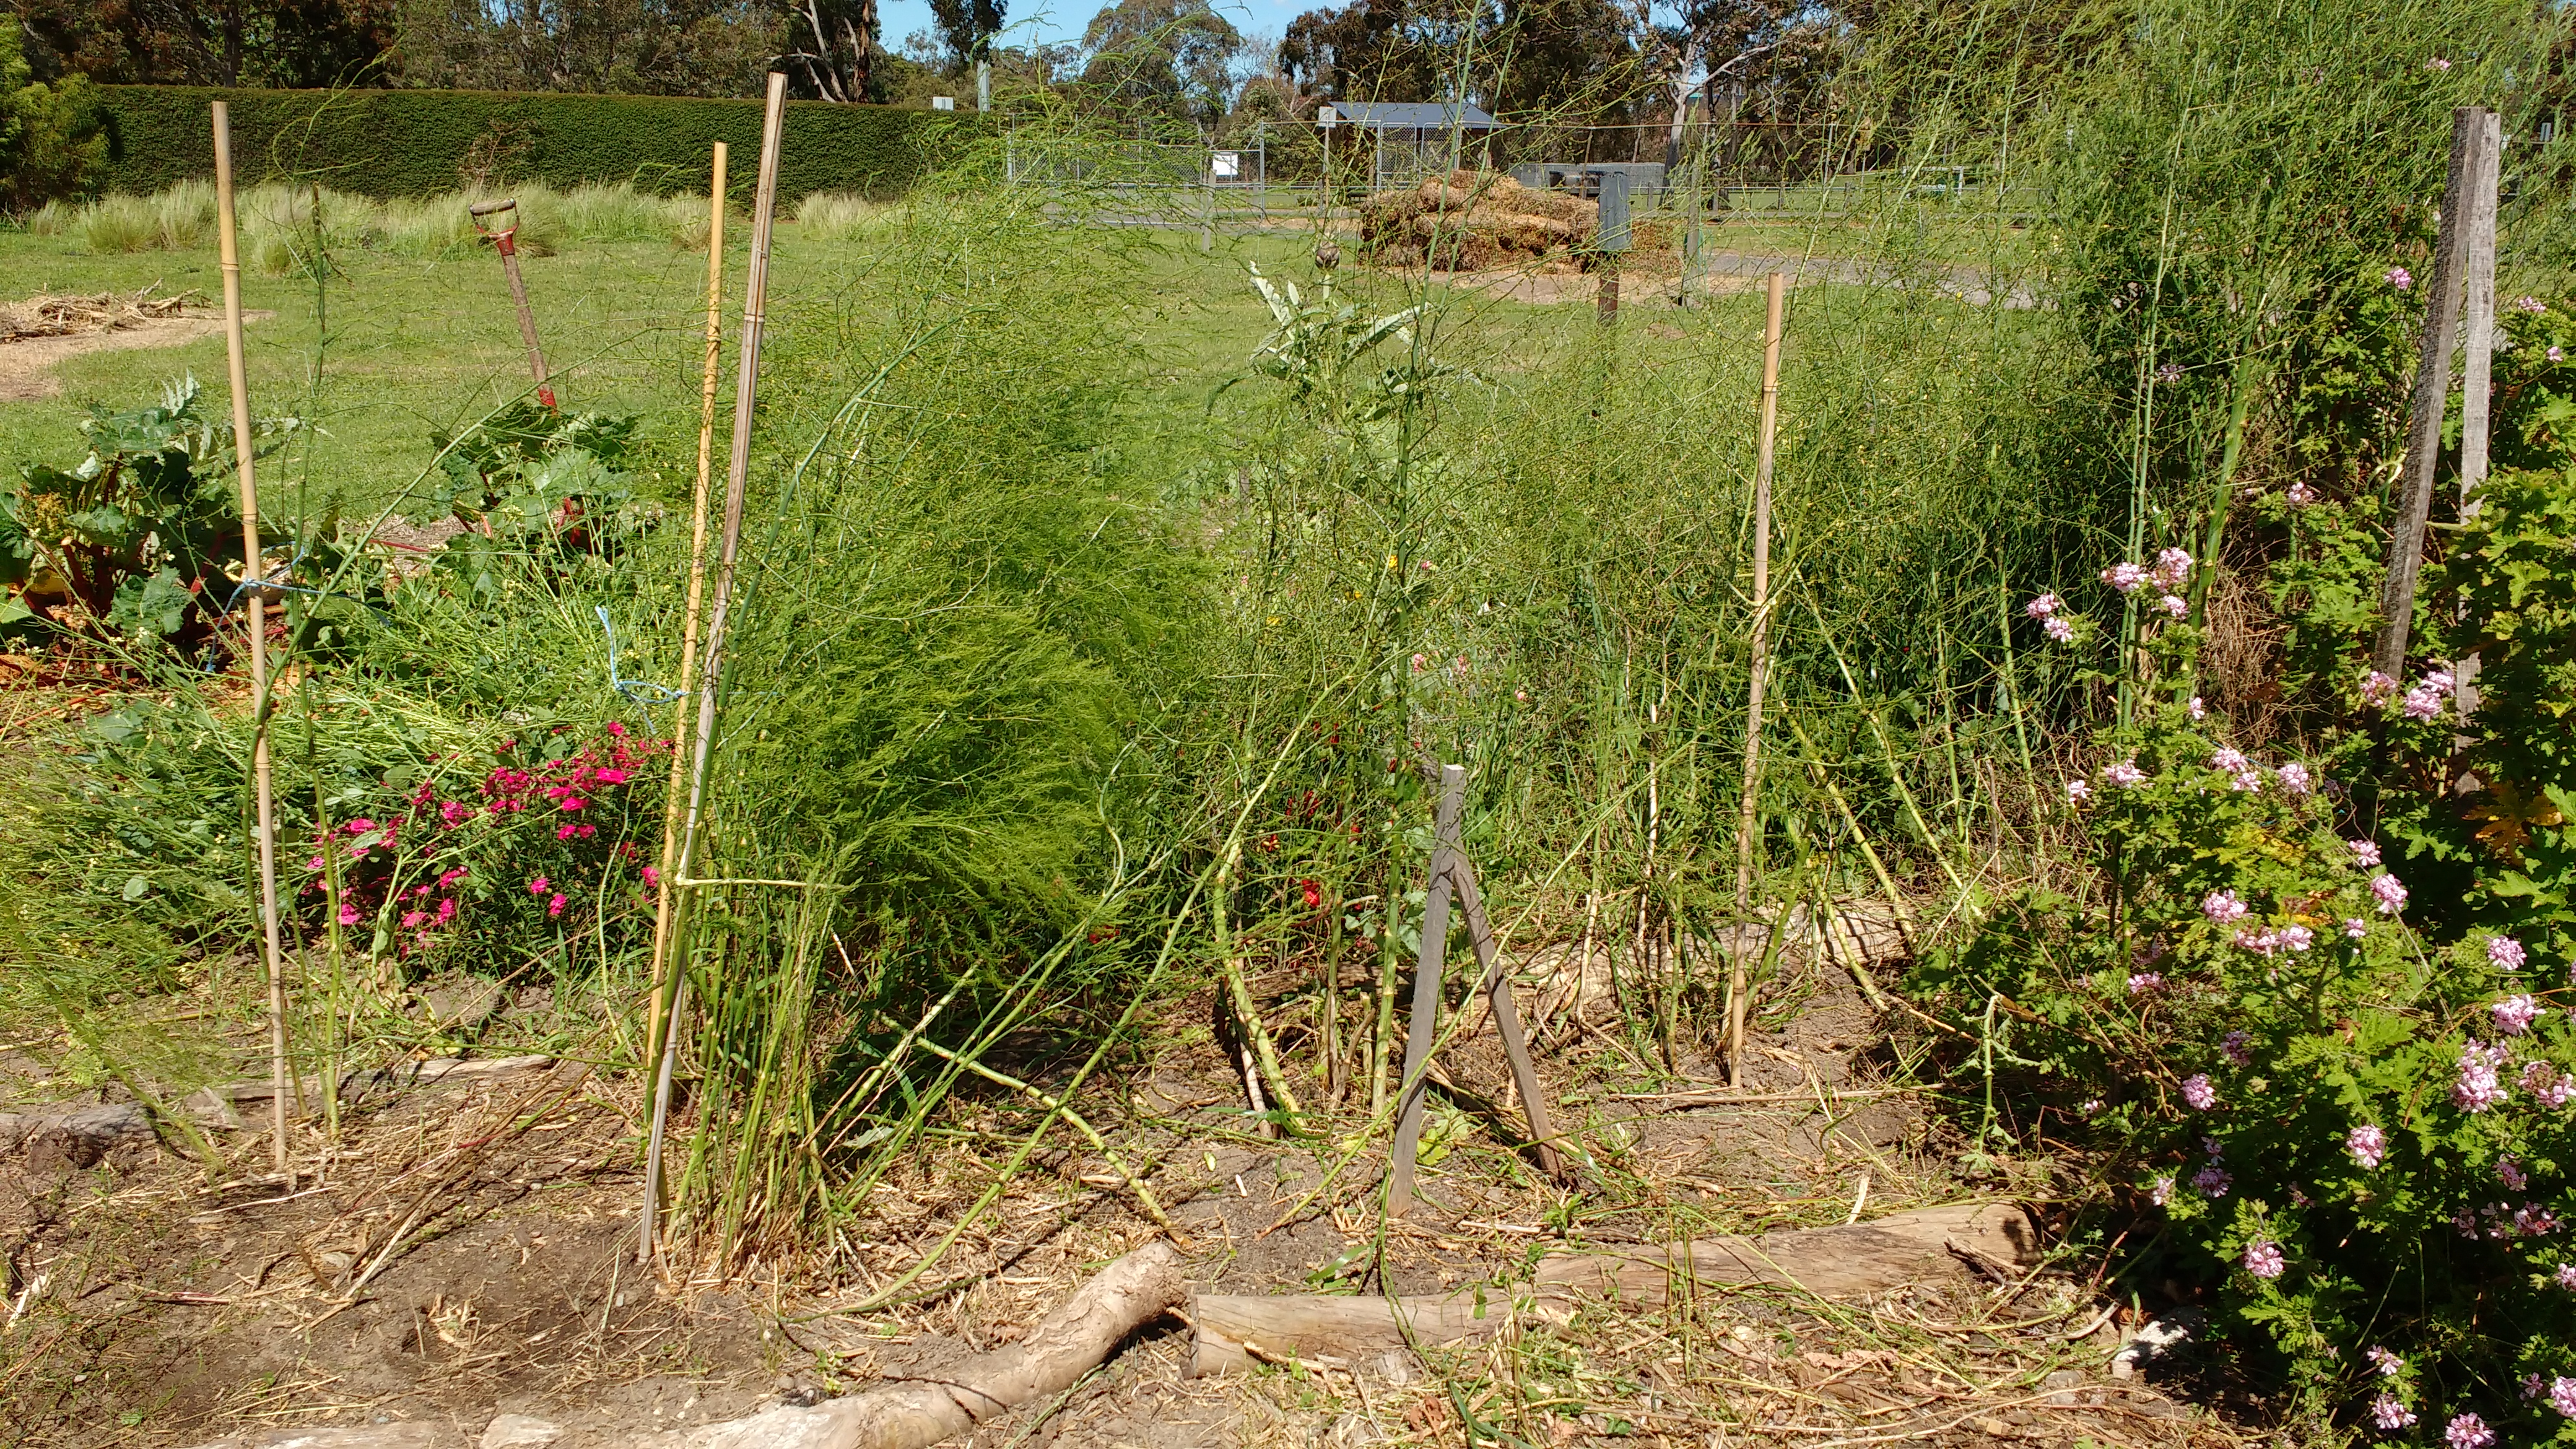
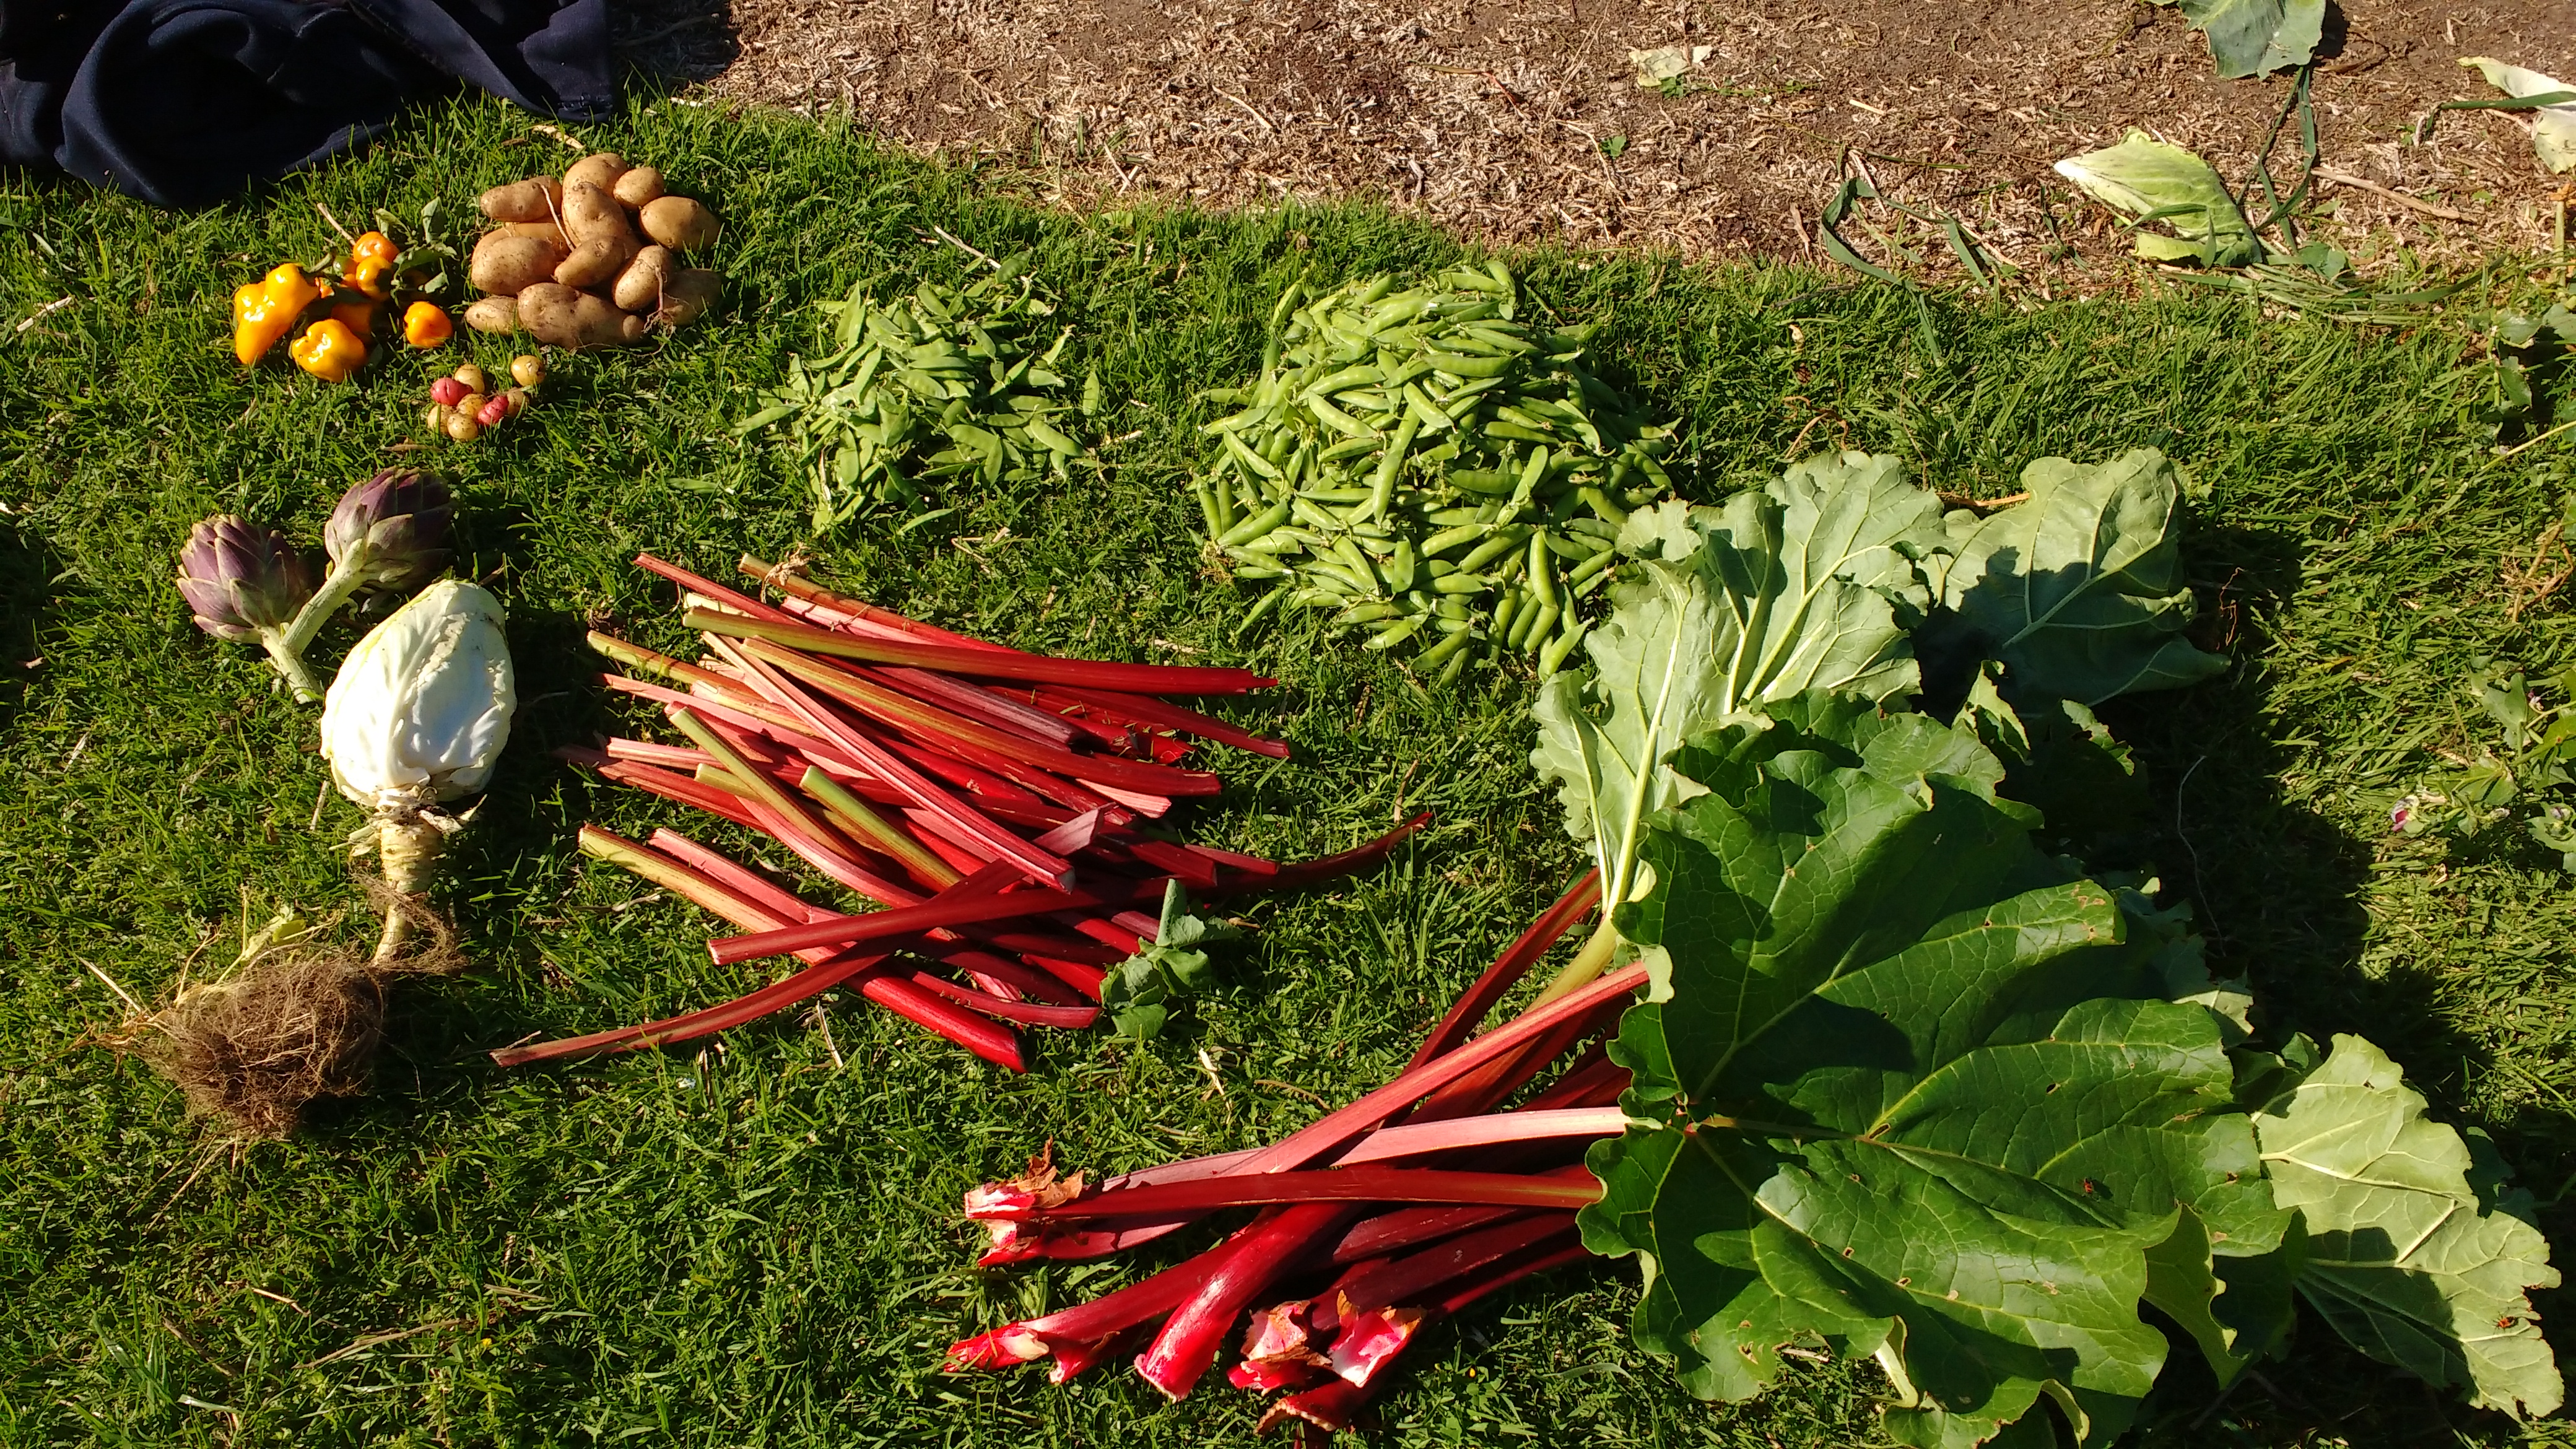
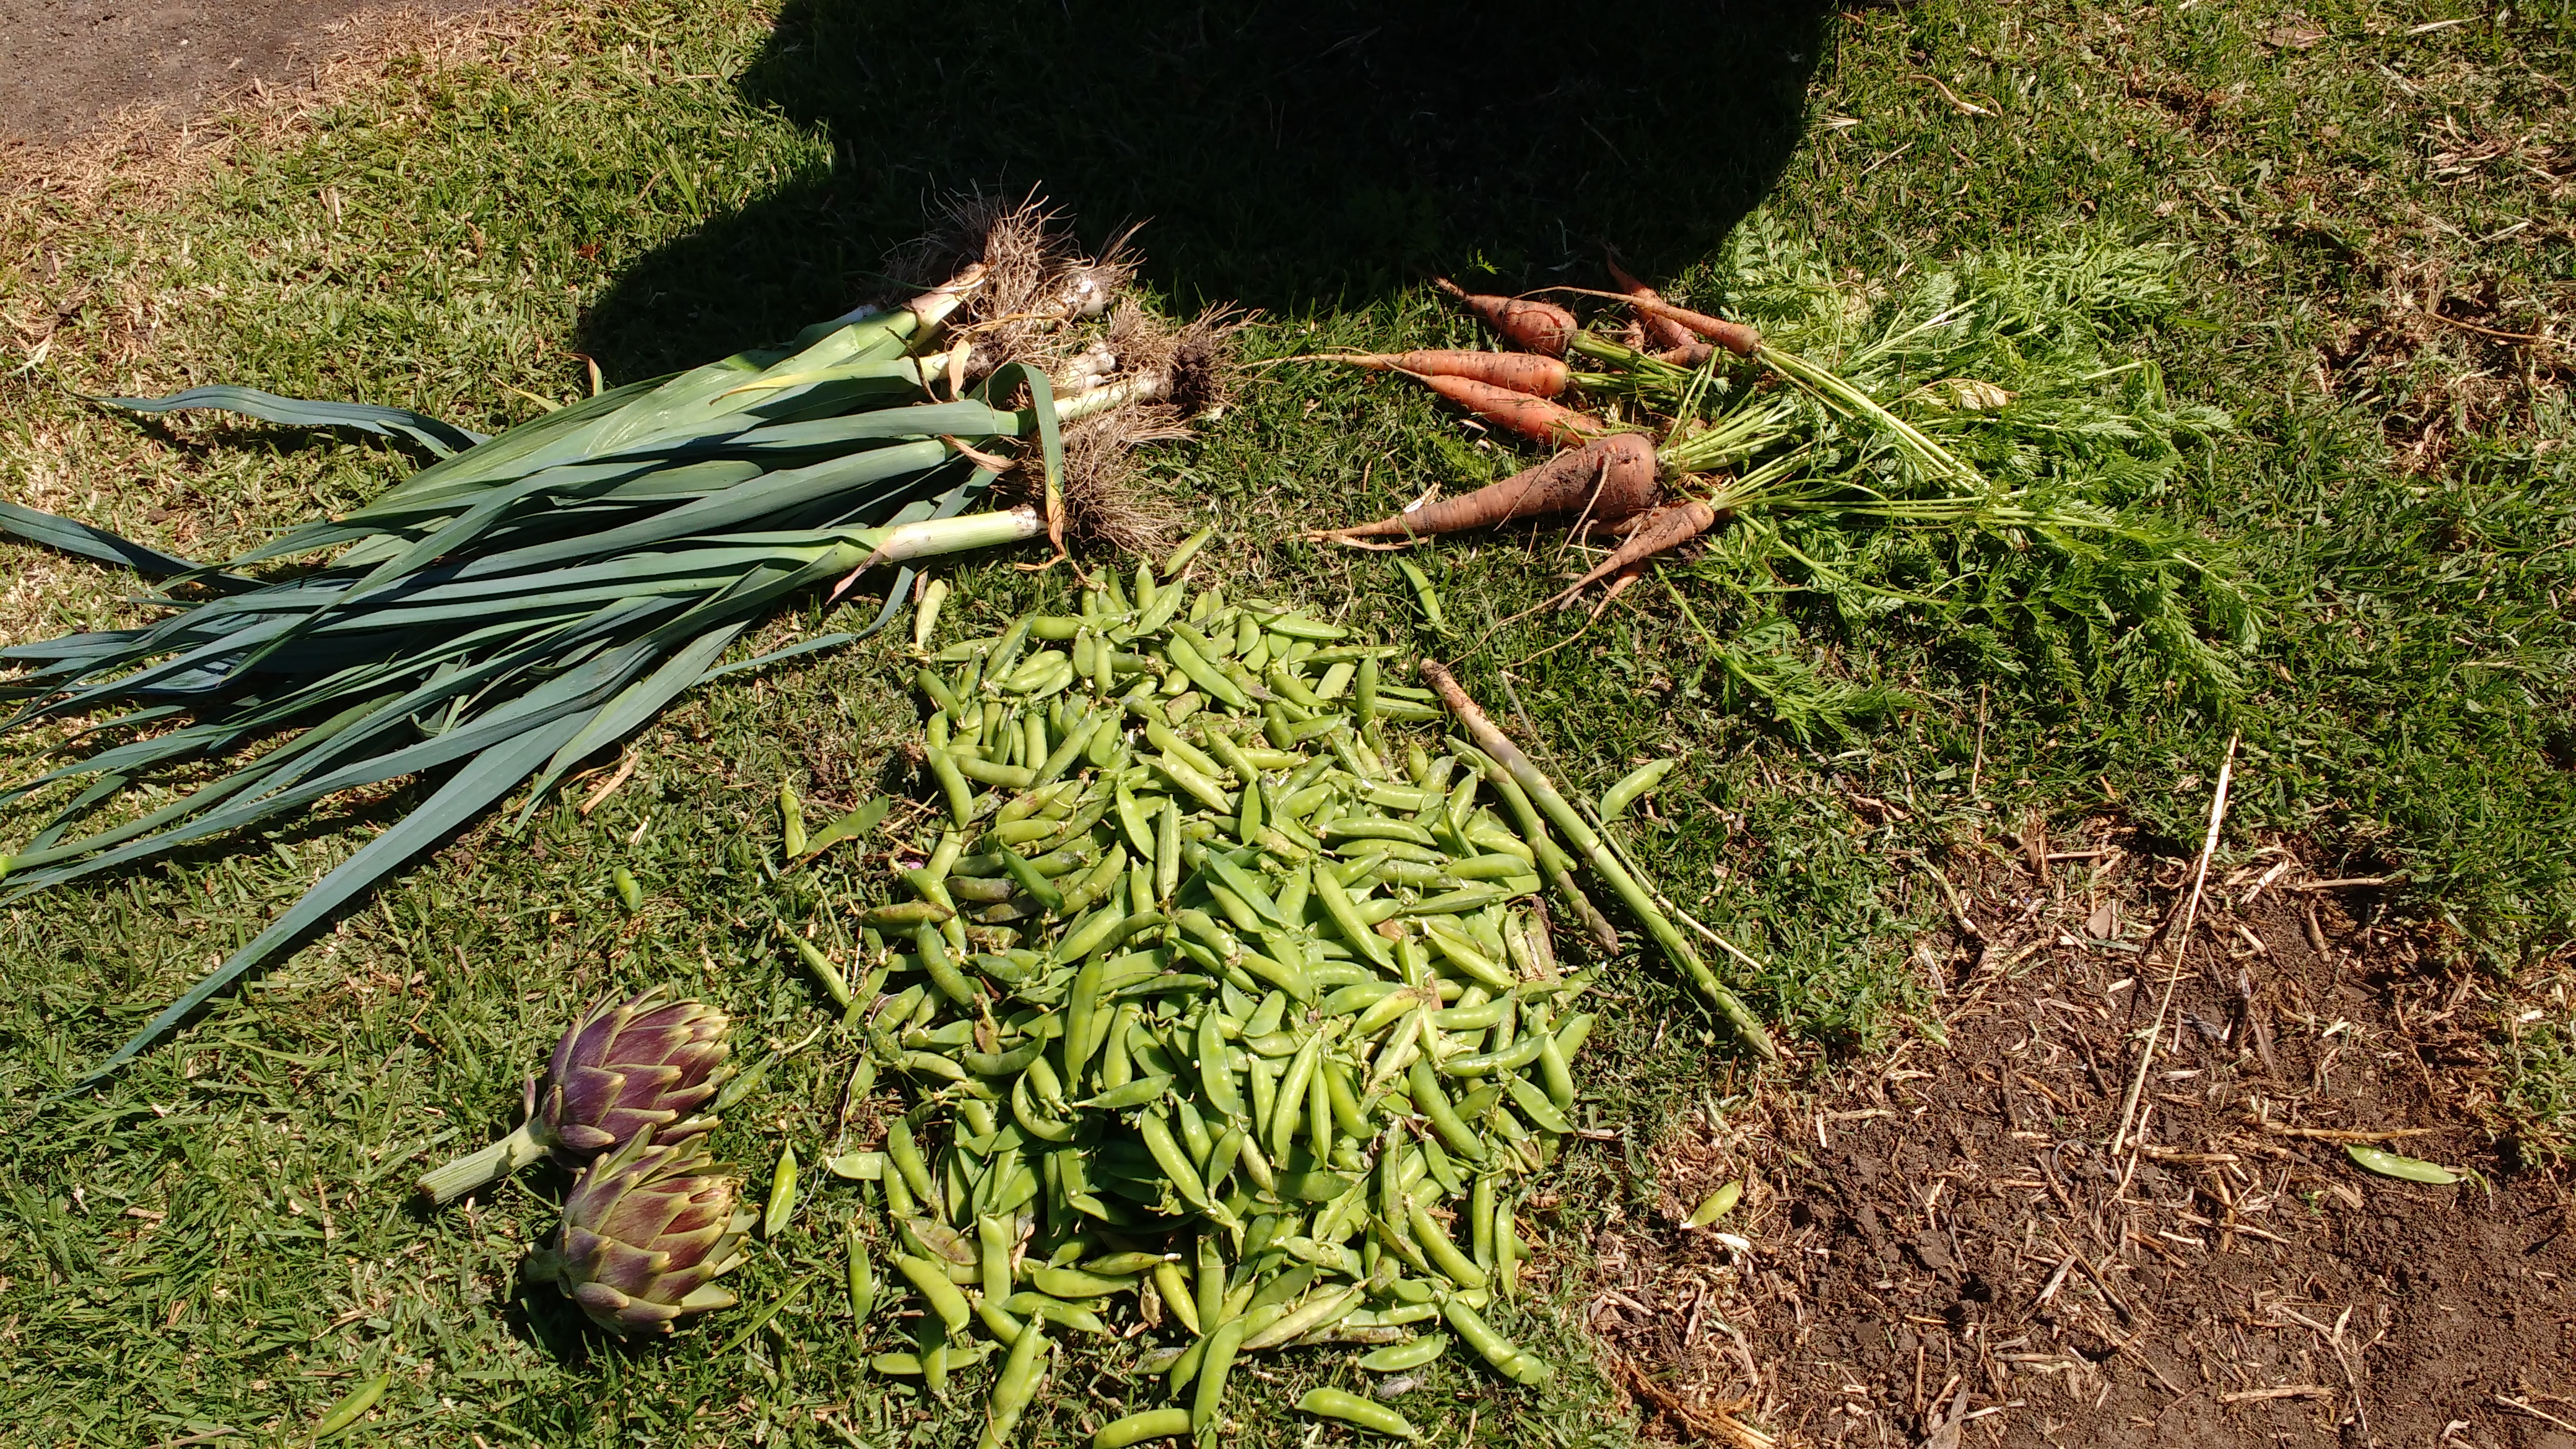
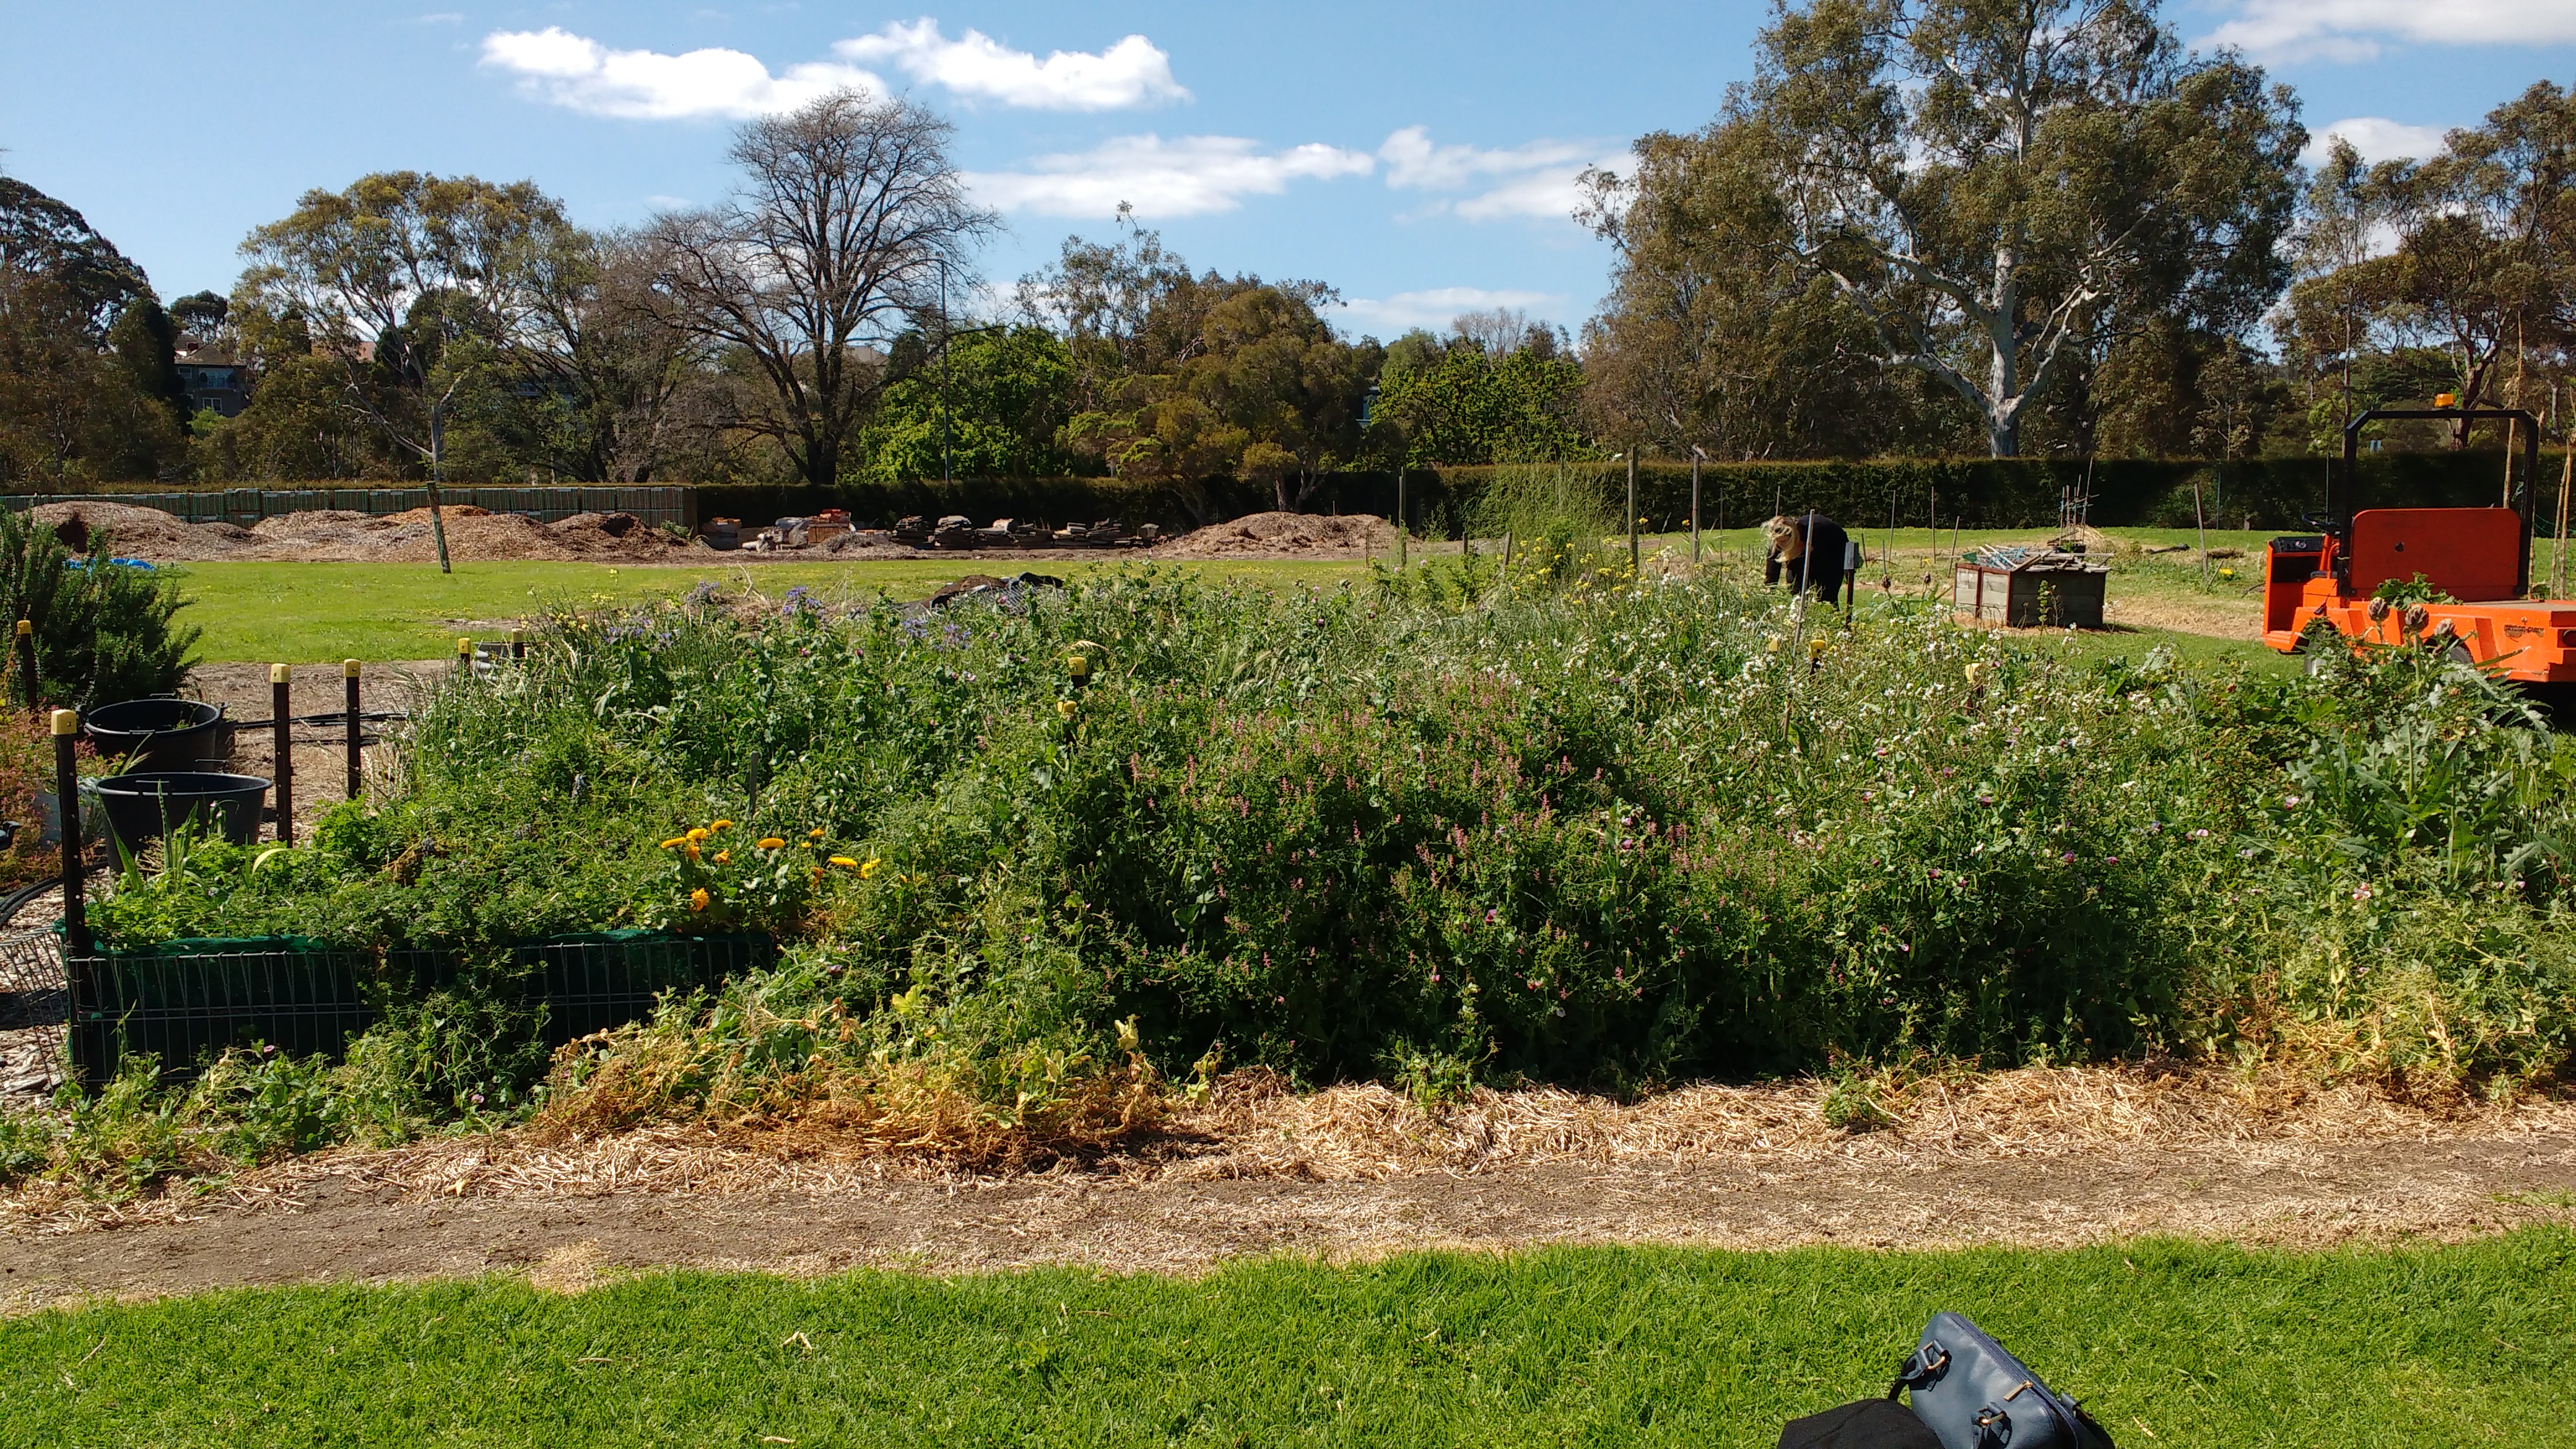
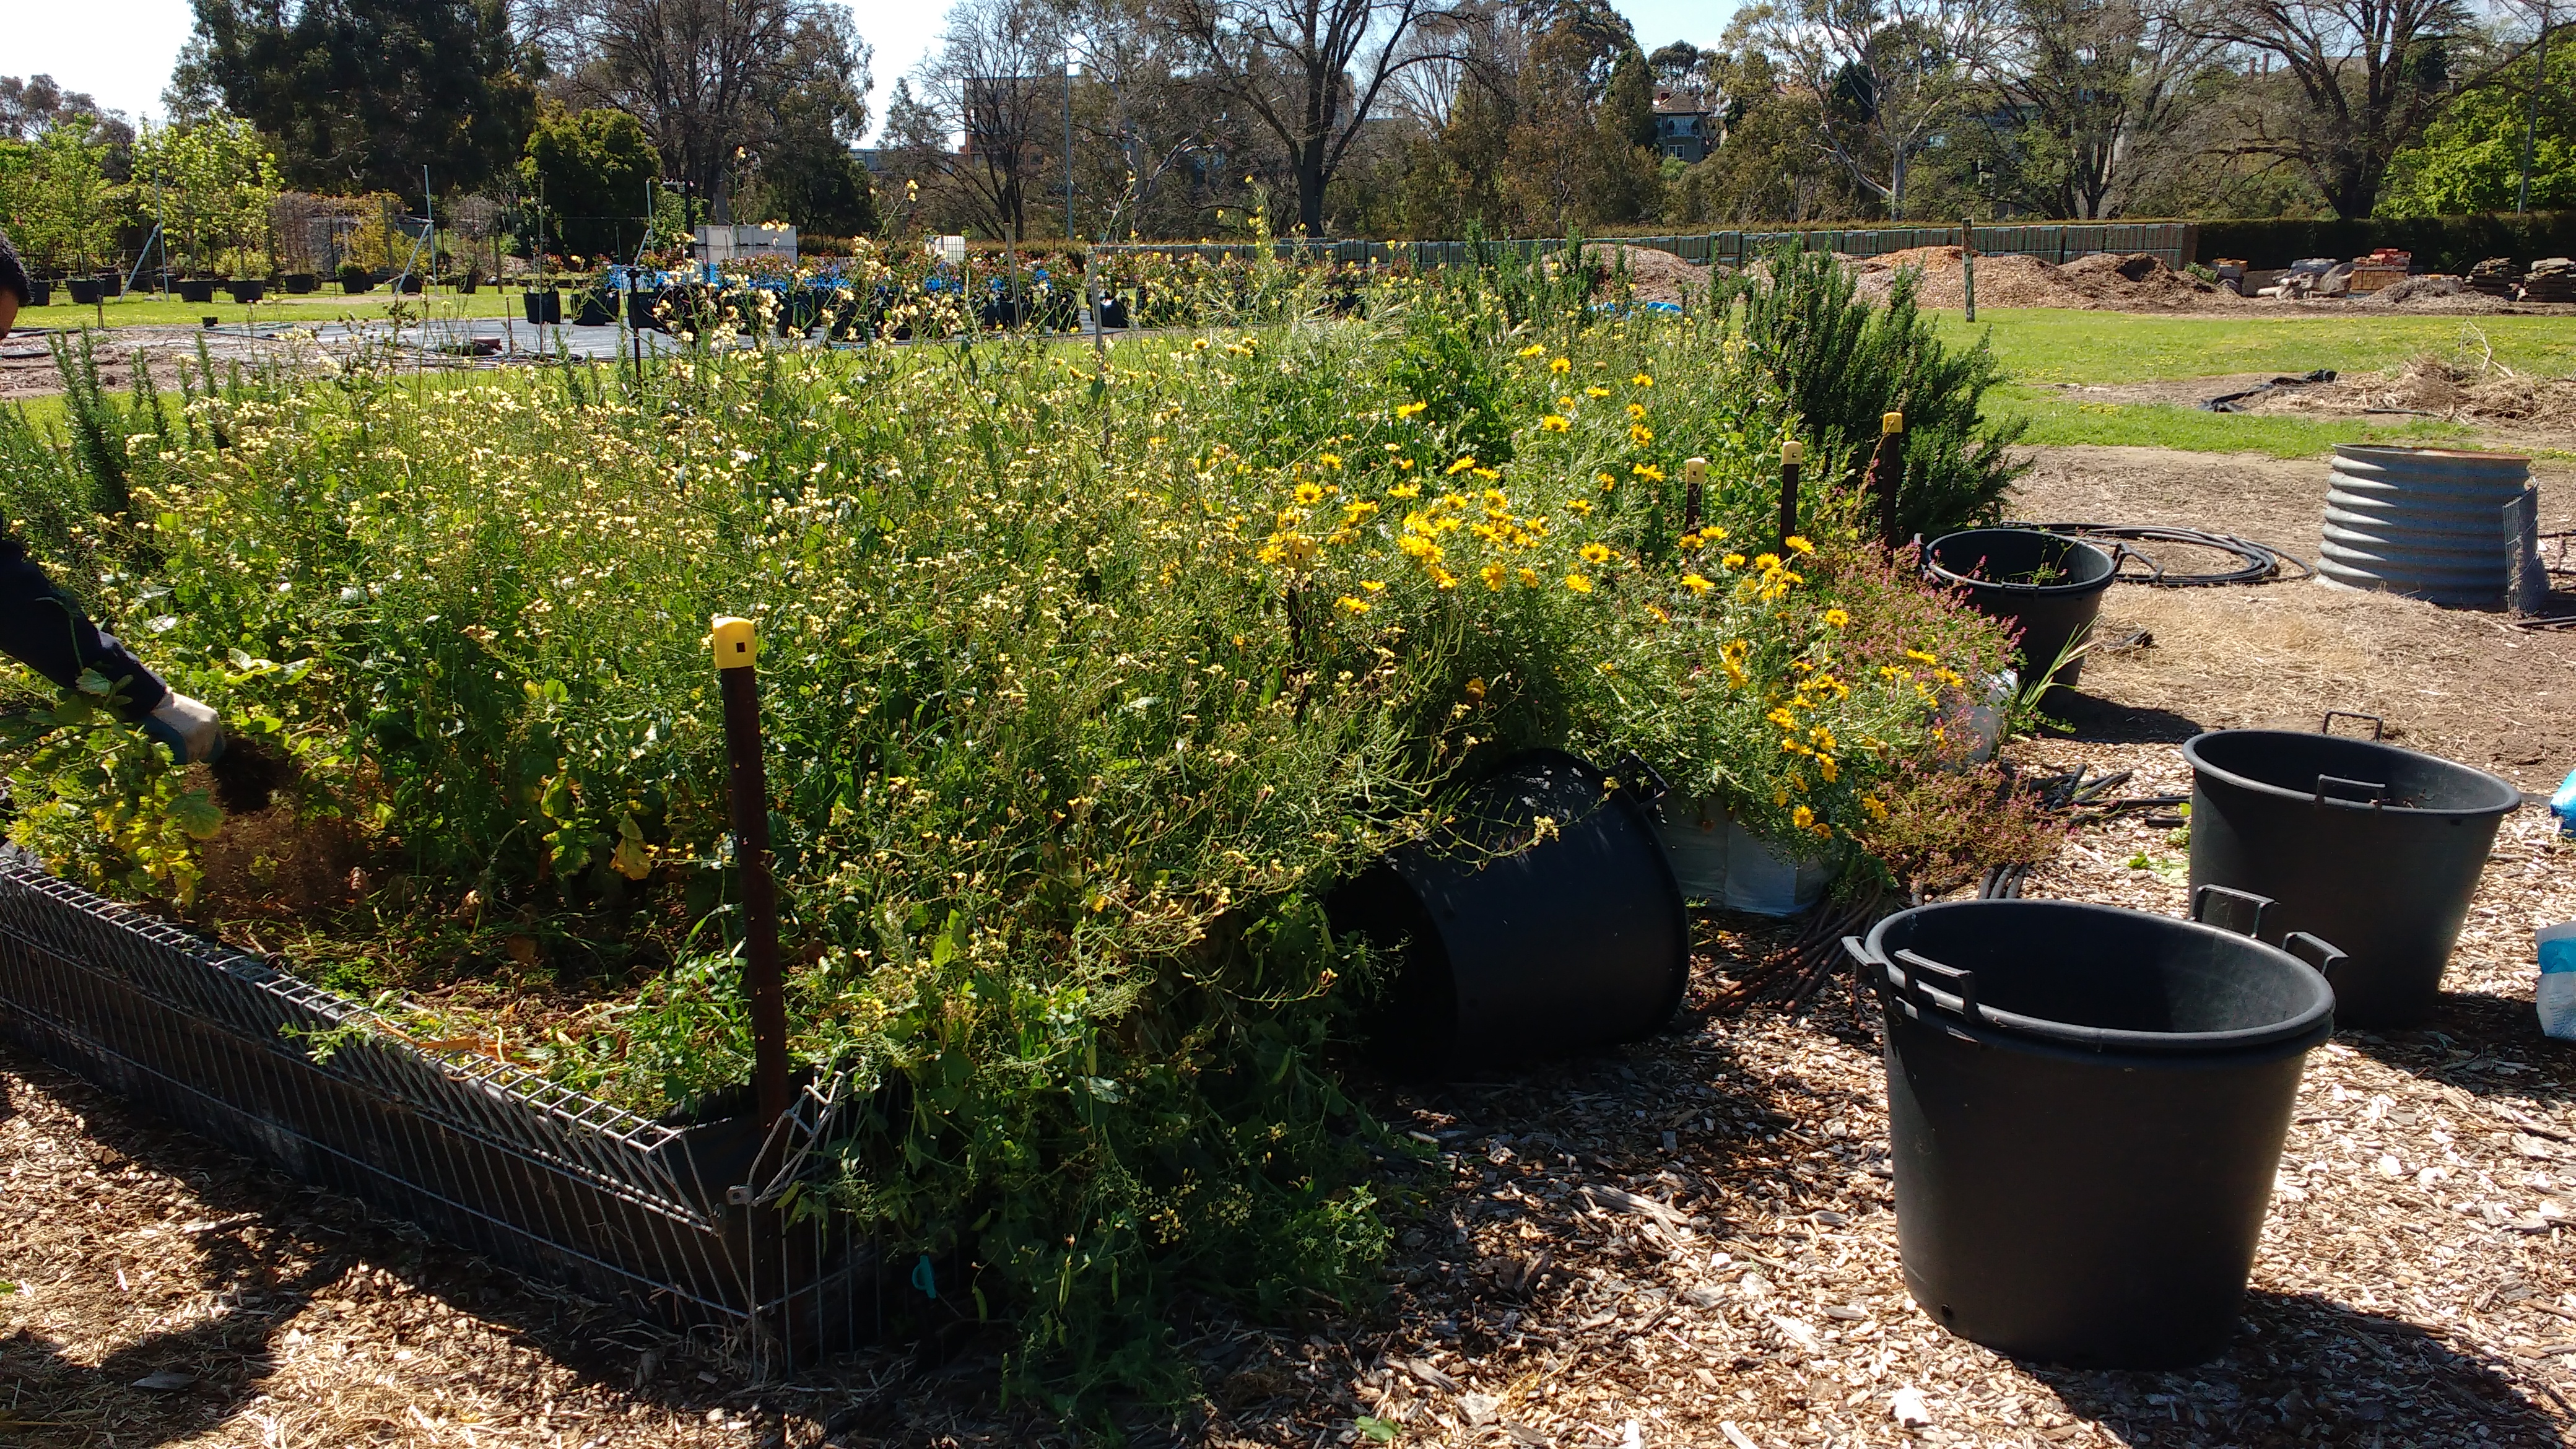
MUC Garden Coordinator Position by mucgarden on Scribd We know, we've been pretty quiet about what's happening at the Burnley garden! It has been reasonably neglected, but underneath all the weeds and without supplementary water or nutrients for months, the tough old thing has still been pumping out rhubarb, alpine strawberries, capsicums (yes, over autumn and spring!!), globe artichokes, potatoes, asparagus, peas, rosemary, parsley and sage. We think that's testament to the excellent soil that has been built up over the years! About a month ago a few of us decided to get the garden back into shape, which involved many hours of yanking and digging out weeds, many of which had gotten huge! Here are a few 'before' photos:
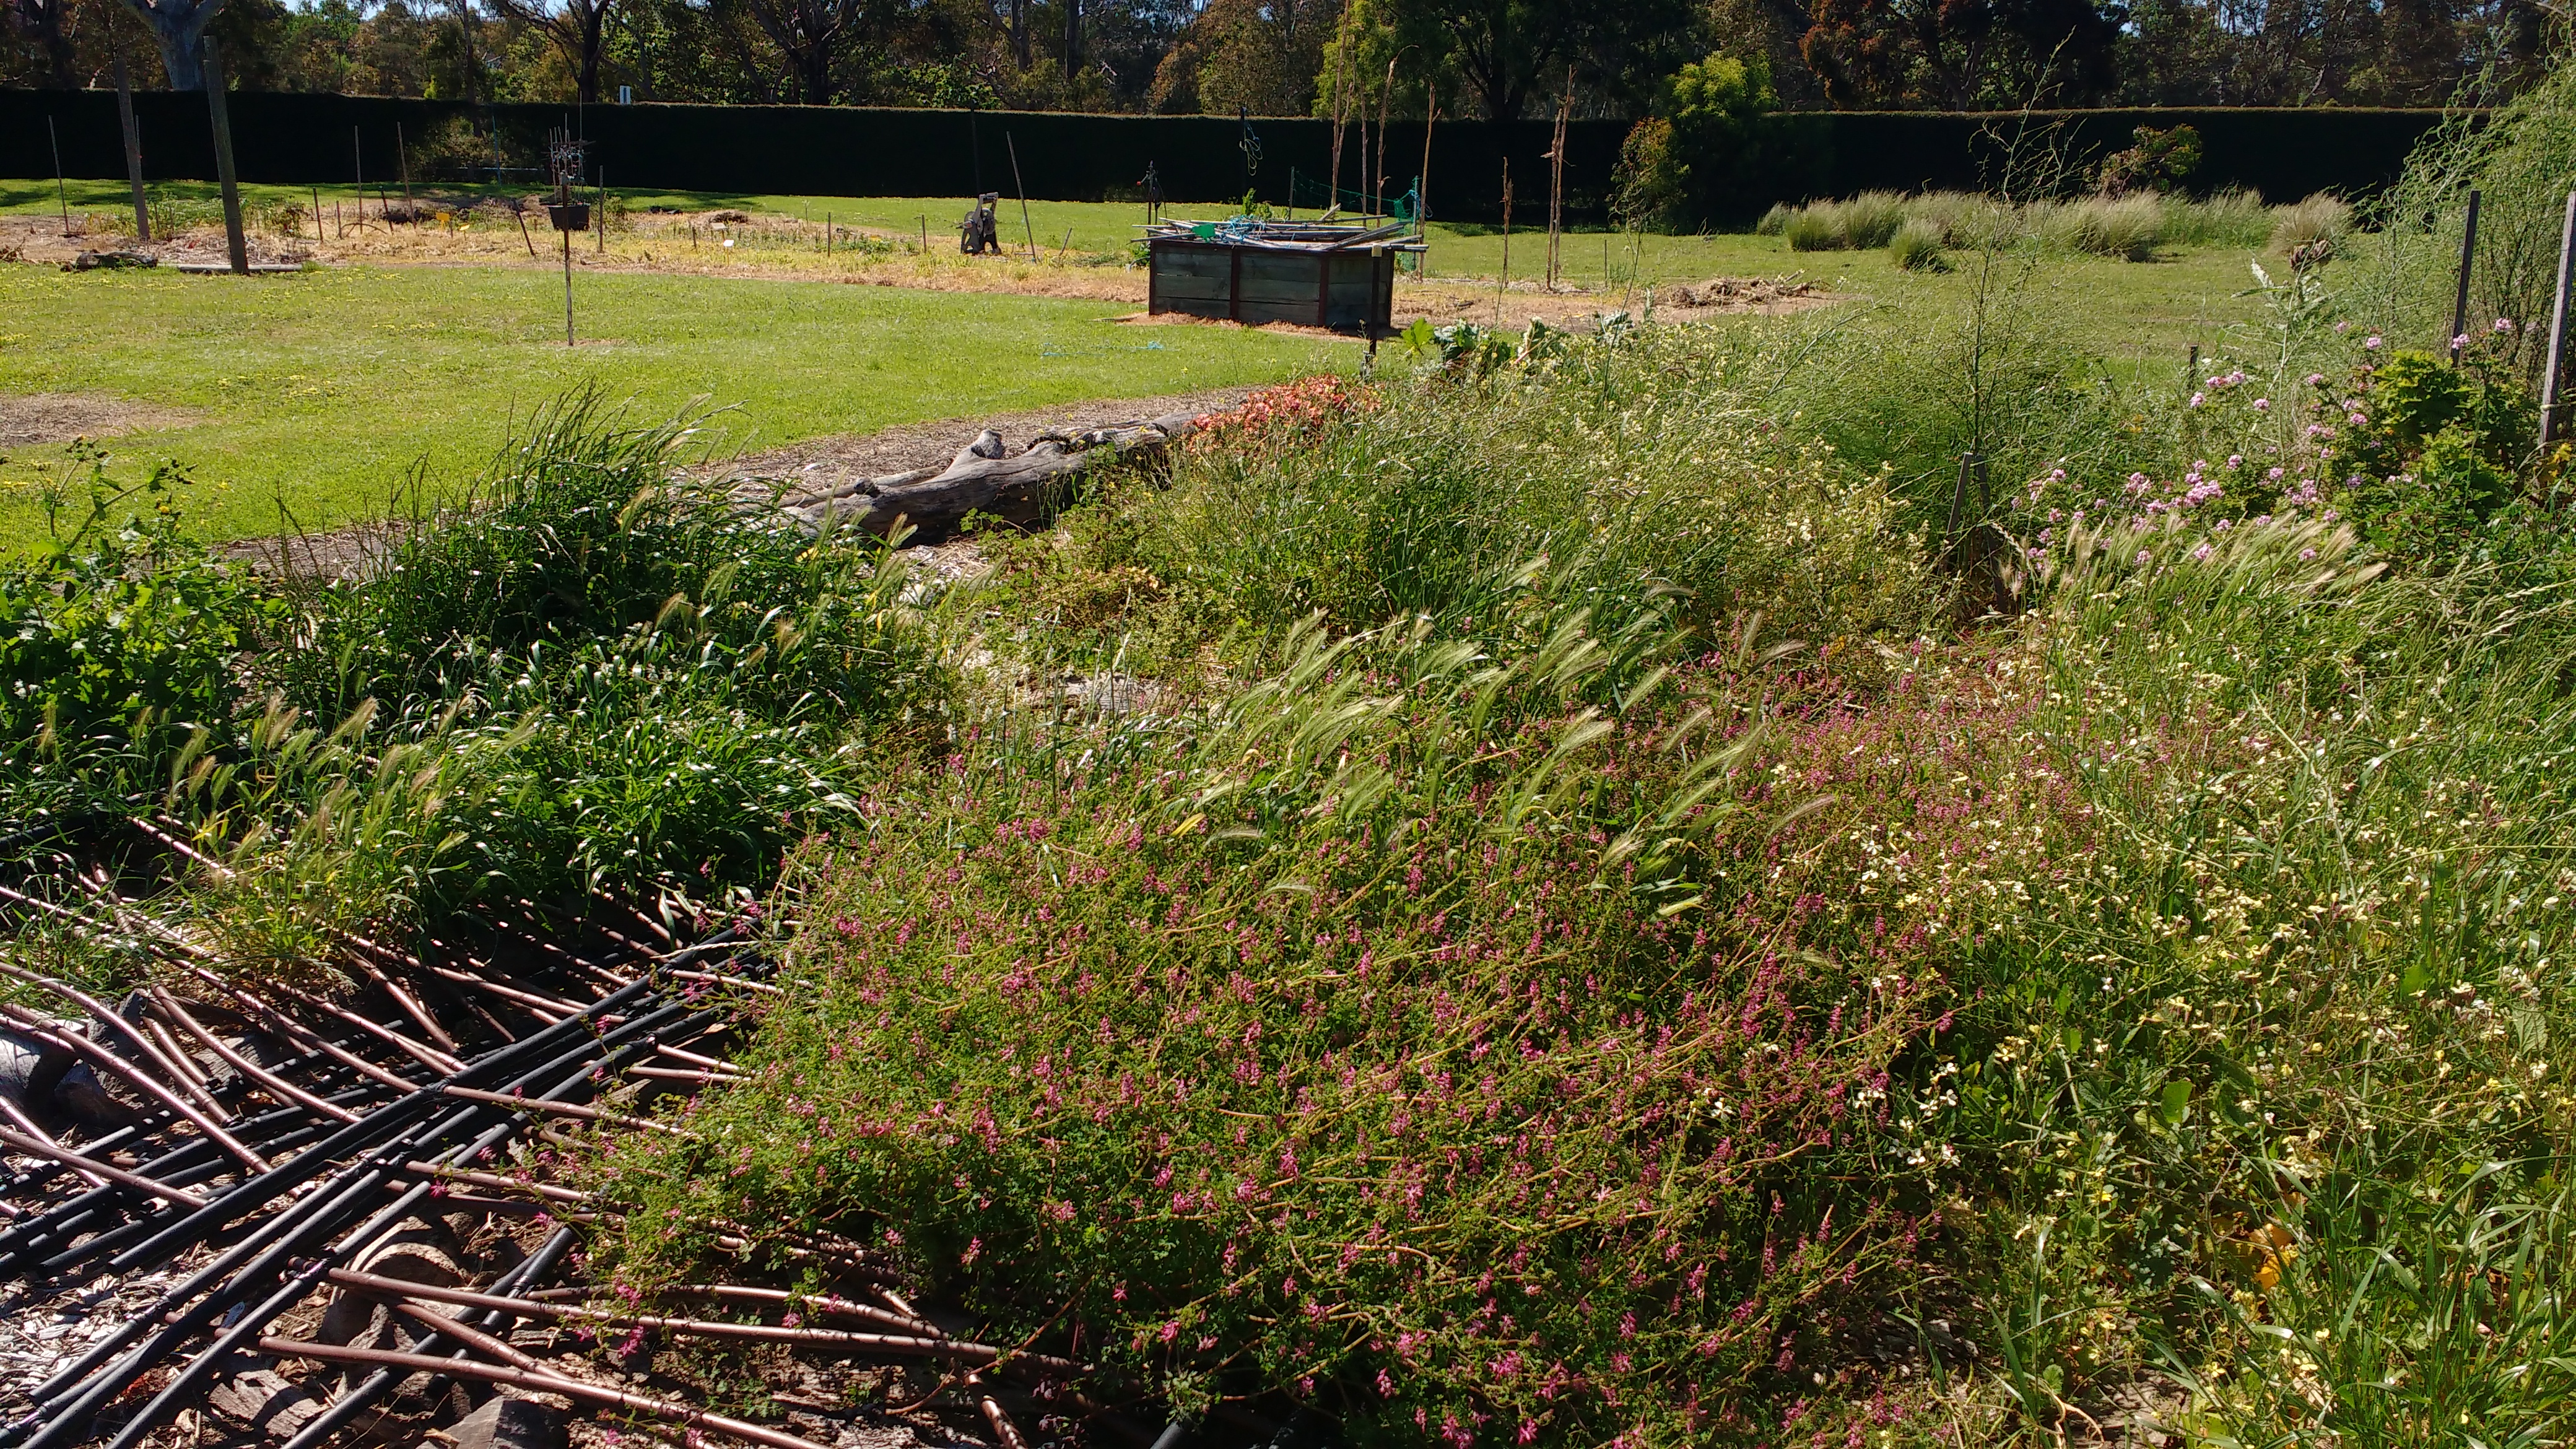
 Some shots from during the clearing process: 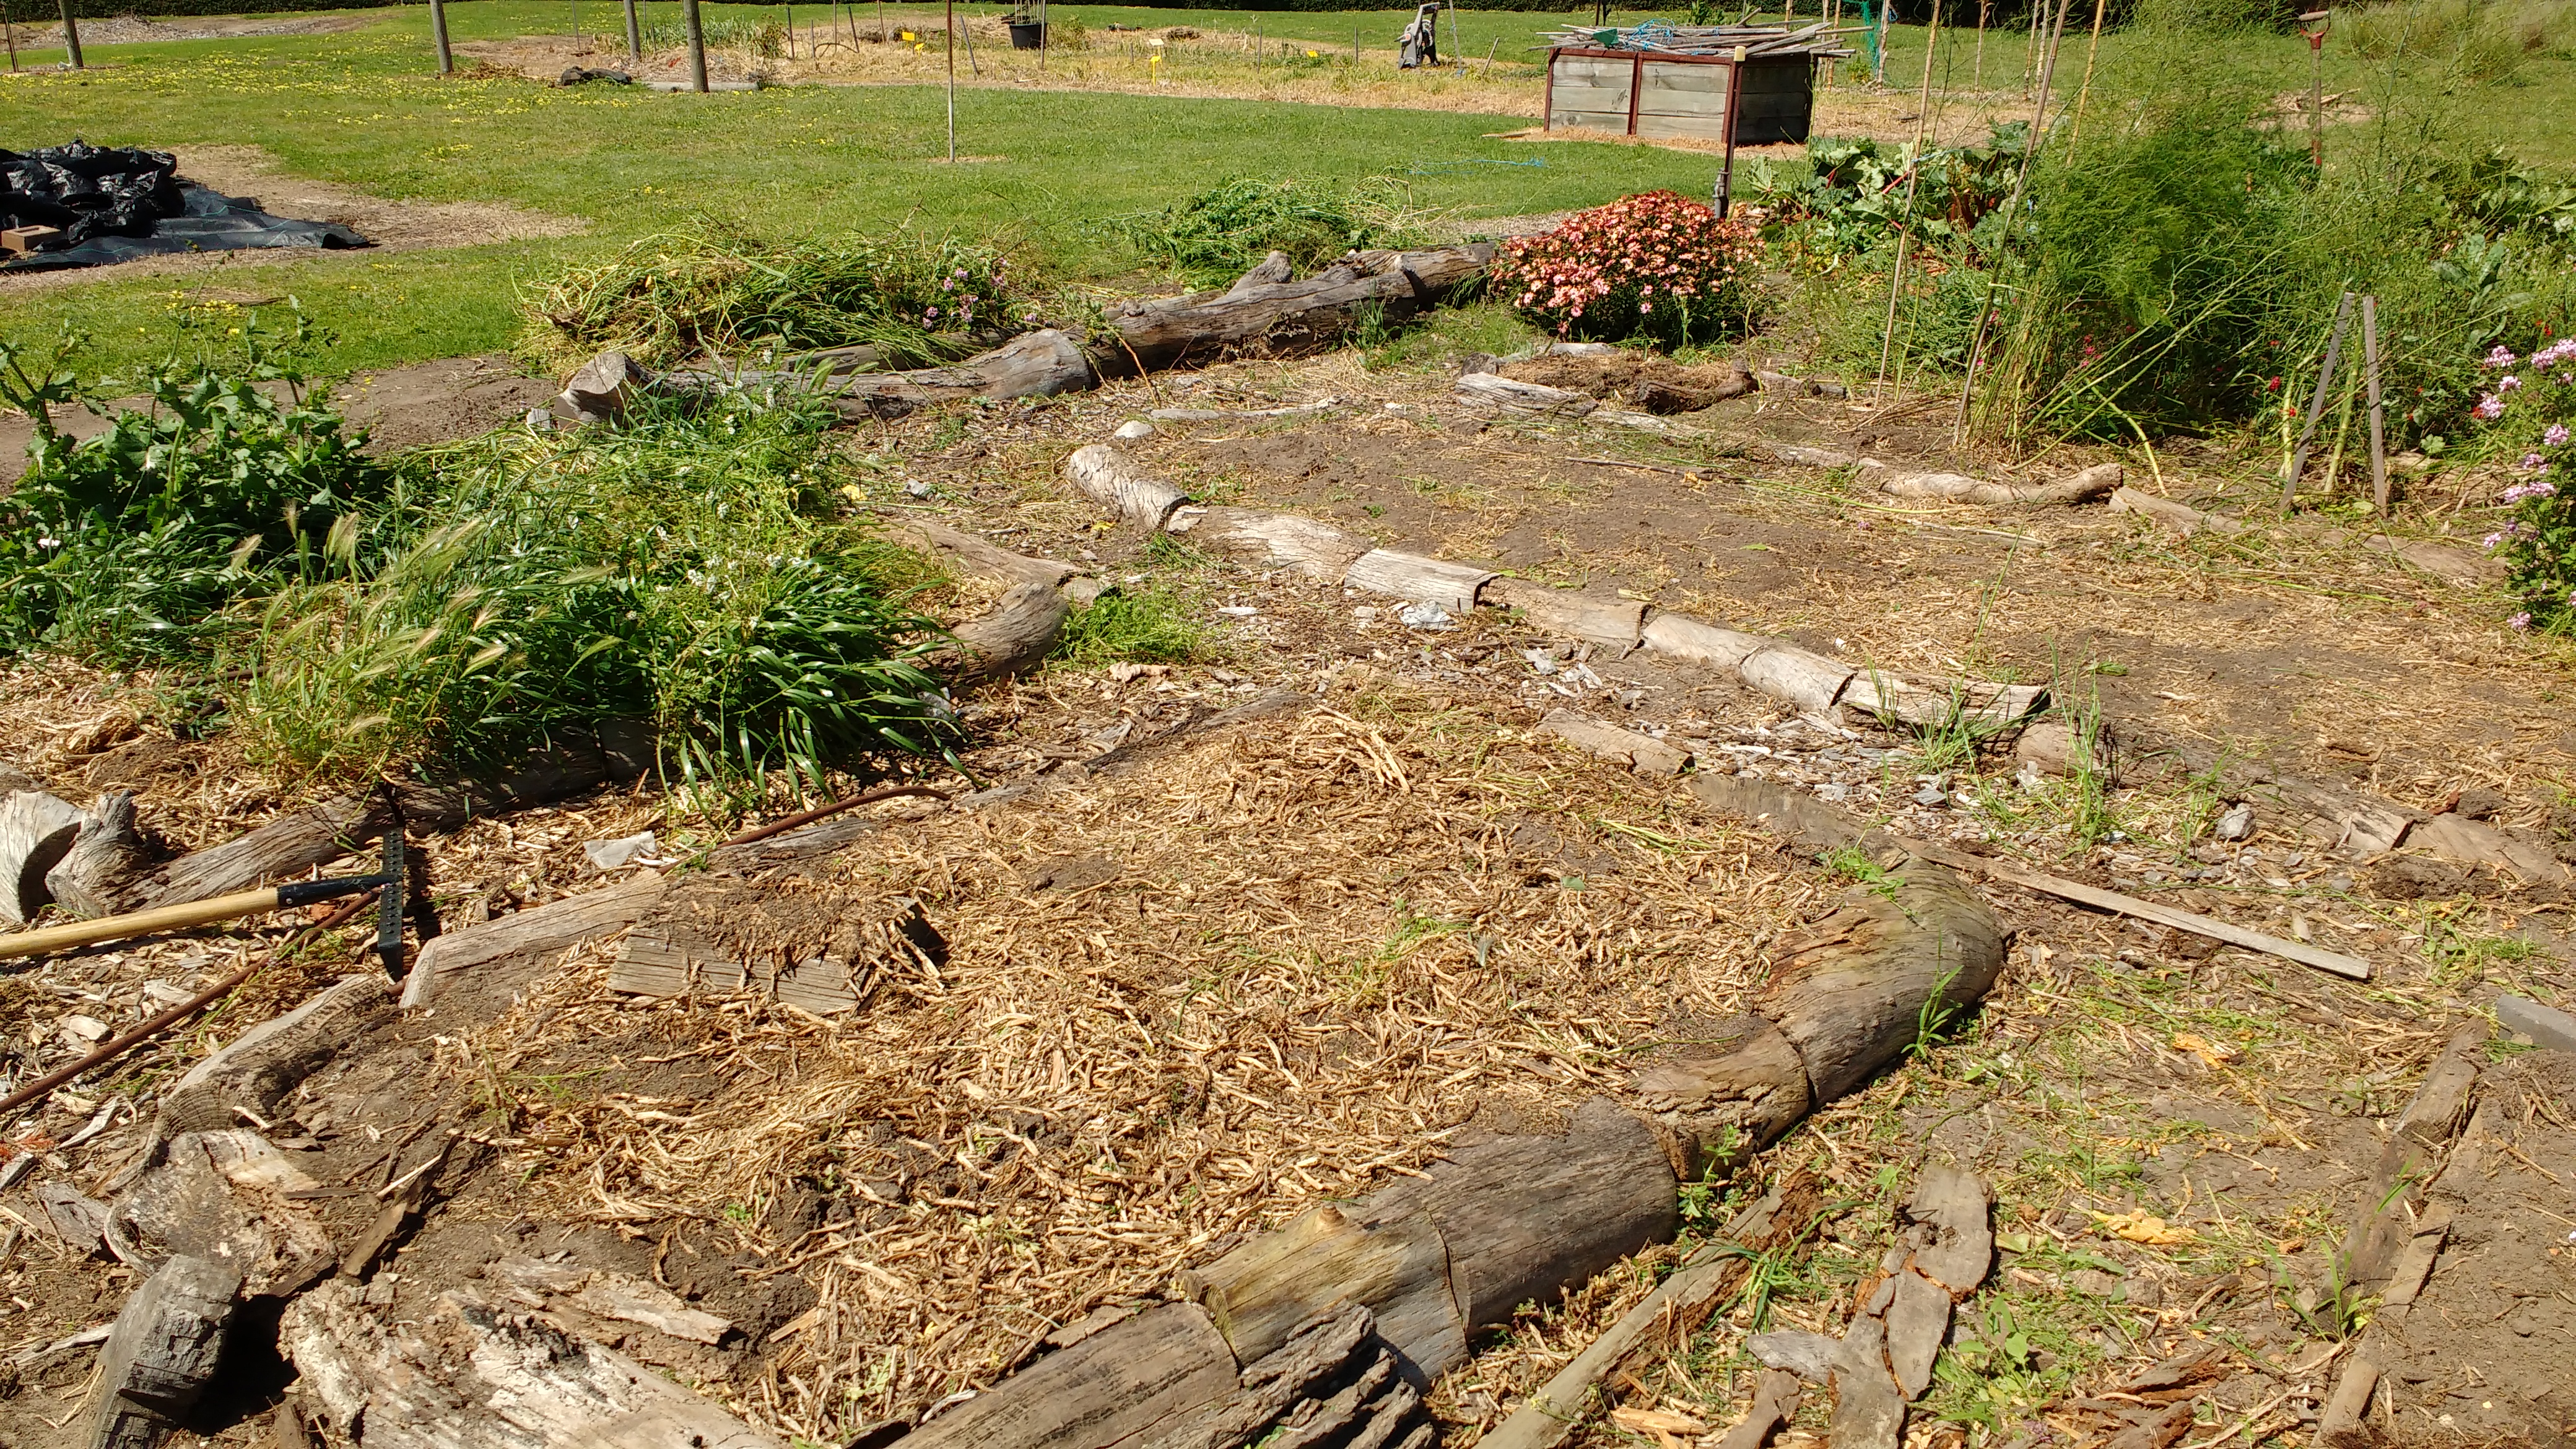
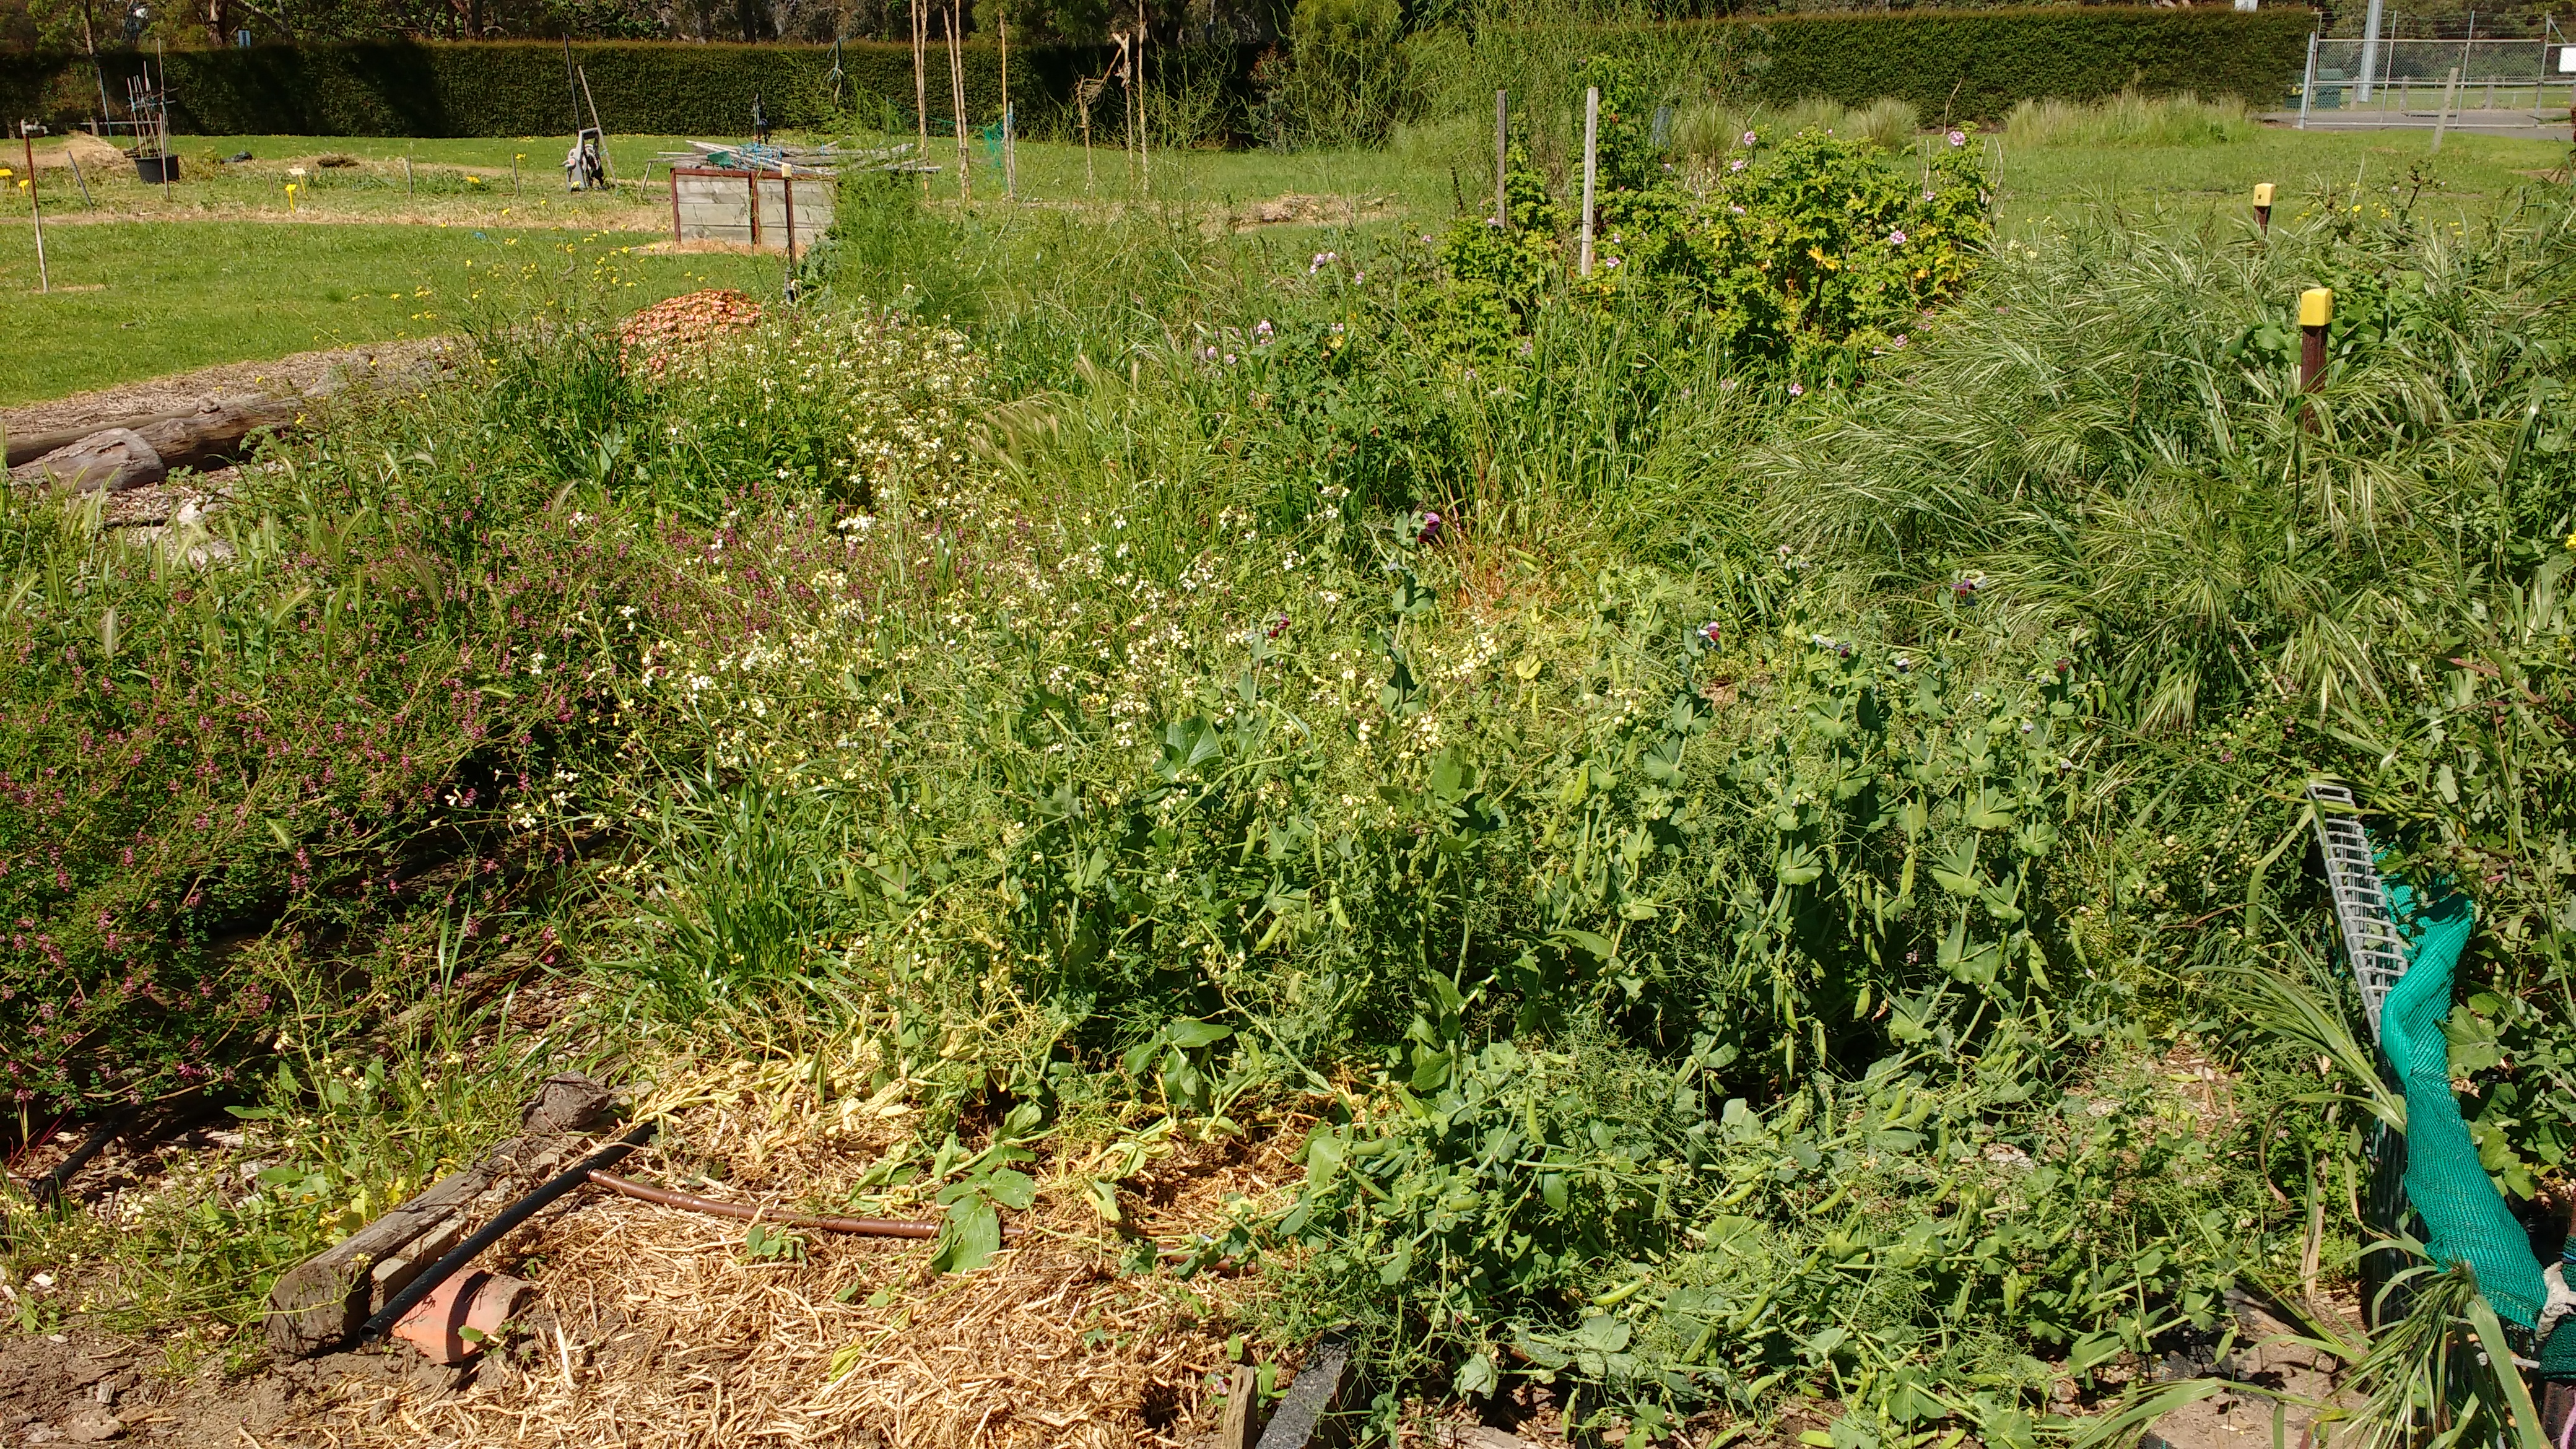
 It was a lot of work, with a few encounters with stinging nettles and even a snake sighting! However, we discovered a whole bunch of cool things hiding under those weeds, like this lovely path... 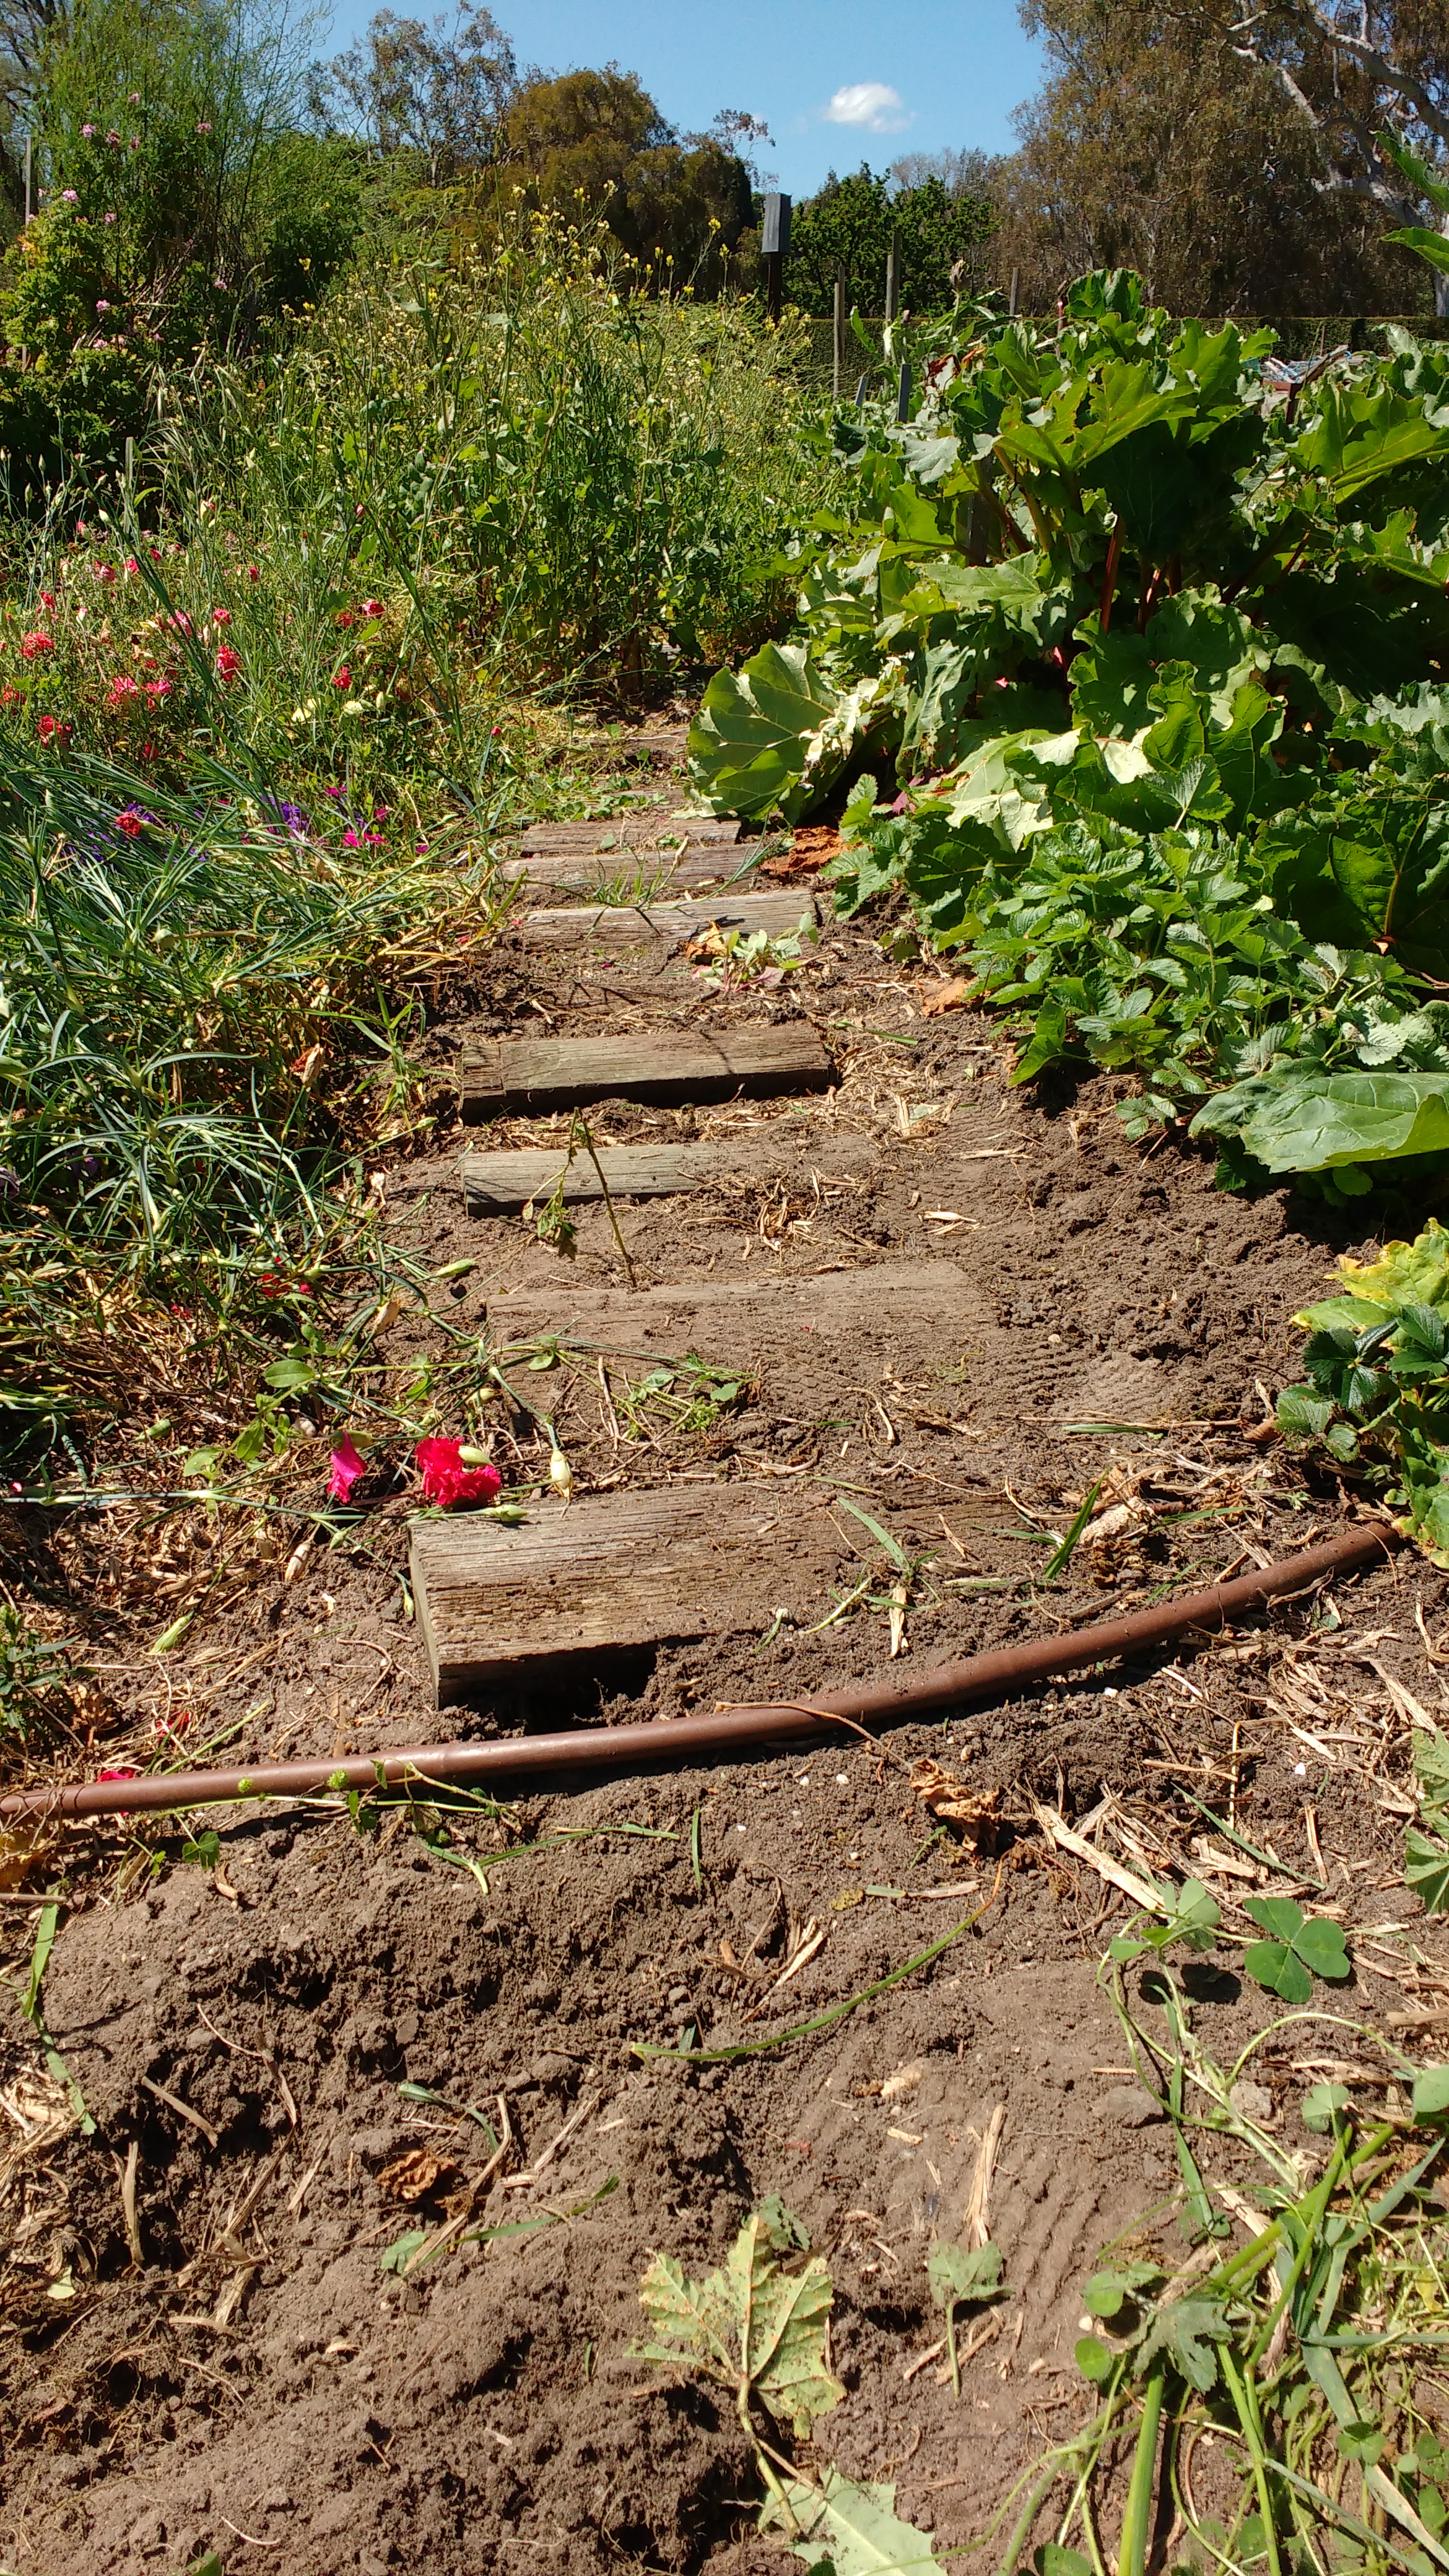 ...and all this food!
We've started planting more crops, including tomatoes, potatoes, beans and pumpkins. The next step is to set up an irrigation system so that everything can thrive over summer! If you'd like to get involved with the garden, check out the Burnley Student Association Facebook page or email us at [email protected].
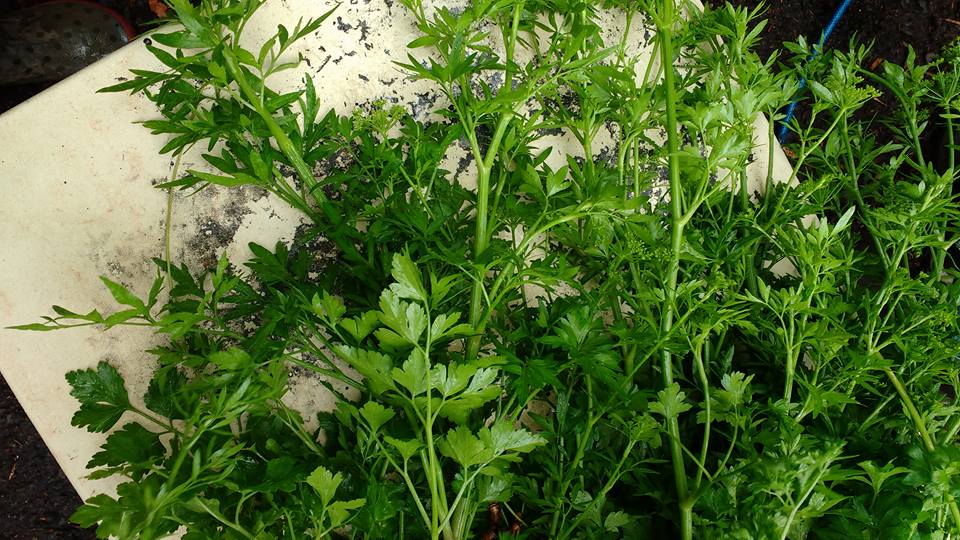
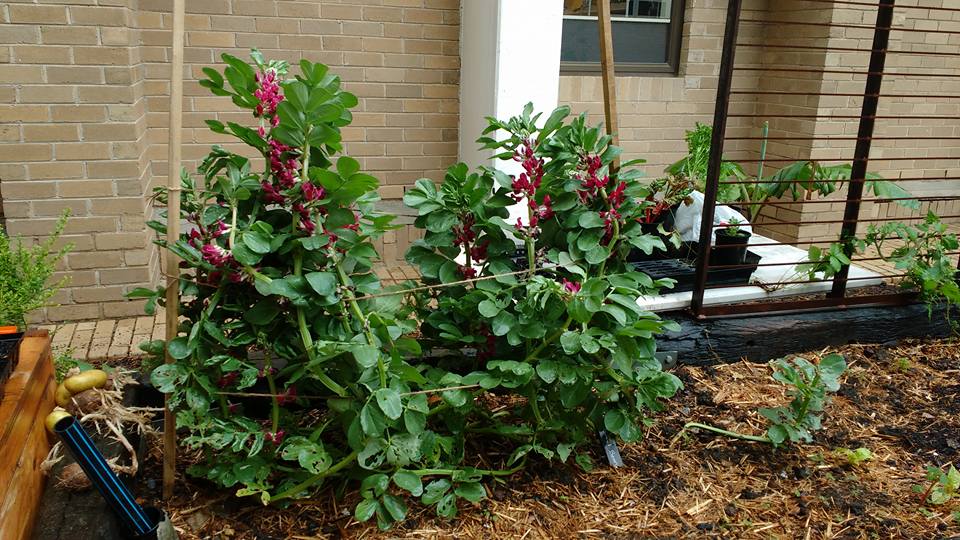
The weather was not our friend for this workshop, with rain pouring on and off for the whole event, so thanks to those people who braved it with us and came along. At least your new plants were well watered! Under the handy cover of the building next to us, we first chatted about some different ideas for growing things in a small space, which plants are suitable, and care considerations. This is covered in our guide here, so check it out if you have a space that needs some greenery! You'll also notice that several of our other guides are suitable for small space gardening, such as terrariums and microgreens. After our chat we planted seeds and potted up some seedlings to take home, including silverbeet, sage, alpine strawberries, parsley, basil and mint, all plants well suited to containers. We started our own small space gardening experiment at the garden: growing potatoes in hessian sacks. We used two layers of sacks (so that they would hold everything in while also letting water drain out) with some potting mix and compost at the bottom planted with two sprouting potatoes. As the potatoes grow, we'll add more compost around them and roll the bags up, so that hopefully by the end of summer we'll have a whole hessian sack worth of beautiful homegrown potatoes! Stay tuned for results. We have loads of hessian sacks in the wooden cupboard at the garden, so please help yourself to some if you want to give this a try at home. As always we also did some general pottering around the garden. We made a makeshift trellis for our crimson flowered broad beans to keep them off our tiny carrot and basil seedlings, picked loads of parsley that was going to seed (we still left a few plants to save seeds from!), tied our raspberries to their trellis and fed the worms. A very productive day considering everything was done between bursts of rain! At least we didn't have to water :D 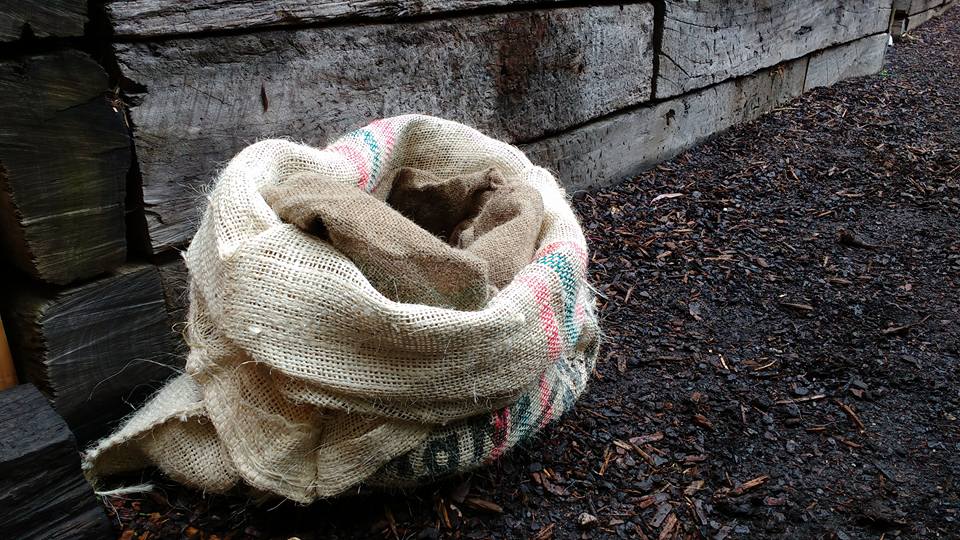
 |